Nextome map integration
If you want, there’s an optional module that can show a live map of the indoor location of the user. You have two options to integrate the UI component:
- Integrate the
PhoenixMapUtils(Recommended method), which is a wrapper that allows you to integrate easily the SDK with the Map module - Integrate directly the
NextomeMap. This method requires more boilerplate code but allows more customization
Integrate PhoenixMapUtils
In this sections we will go through the integration of the PhoenixMapUtils. If you're interested in th NextomeMap approach you can refer to this documentation.
Install the dependency
- In your
build.gradlefile, add dependencies for Nextome MapView and PhoenixMapUtils:
- Follow the How to include steps
-
Update the
Podfileadding the CocoaPods source and the Nextome source, the pod dependency and the post install script. You don't need to specify the Phoenix sdk because it is already defined as PhoenixMapUtils dependency.platform :ios, '13.2' source 'https://github.com/CocoaPods/Specs.git' source 'https://github.com/Nextome/Specs' use_frameworks! target 'MyApp' do pod 'PhoenixMapUtils_Release', '1.4.4.1' end post_install do |installer| installer.generated_projects.each do |project| project.targets.each do |target| target.build_configurations.each do |config| config.build_settings['IPHONEOS_DEPLOYMENT_TARGET'] = '13.2' end end end endNote
The PhoenixMapUtils is distributed in two different pod version,
ReleaseandDebug. Th release version will compile also for the simulate but will not show the map view. To test the map on the simulator you can use theDebugversion instead. It is important to use theReleaseversion for the app store. -
Install the dependency
Initialization
The first step is to initialize the module.
- In your .xml layout, add a
PhoenixMapViewwhere you want to display the indoor map. - In your Activity/ViewModel, initialize
PhoenixMapHandler
- Open th
AppDelegate - Import the module
- Initialize the
PhoenixMapHandlerin thedidFinishLaunchingWithOptionsmethod:Thefunc application(_ application: UIApplication, didFinishLaunchingWithOptions launchOptions: [UIApplication.LaunchOptionsKey: Any]?) -> Bool { // Override point for customization after application launch. PhoenixMapHandler.instance.initialize() return true }PhoenixMapHandlerprovide a UIViewController/Fragment and some methods to handle it.
Integration
- Import the module
- Initialize the Fragment/UIViewController
The
PhoenixMapHandlerprovides a UIViewController that you can use to show the flutter map.
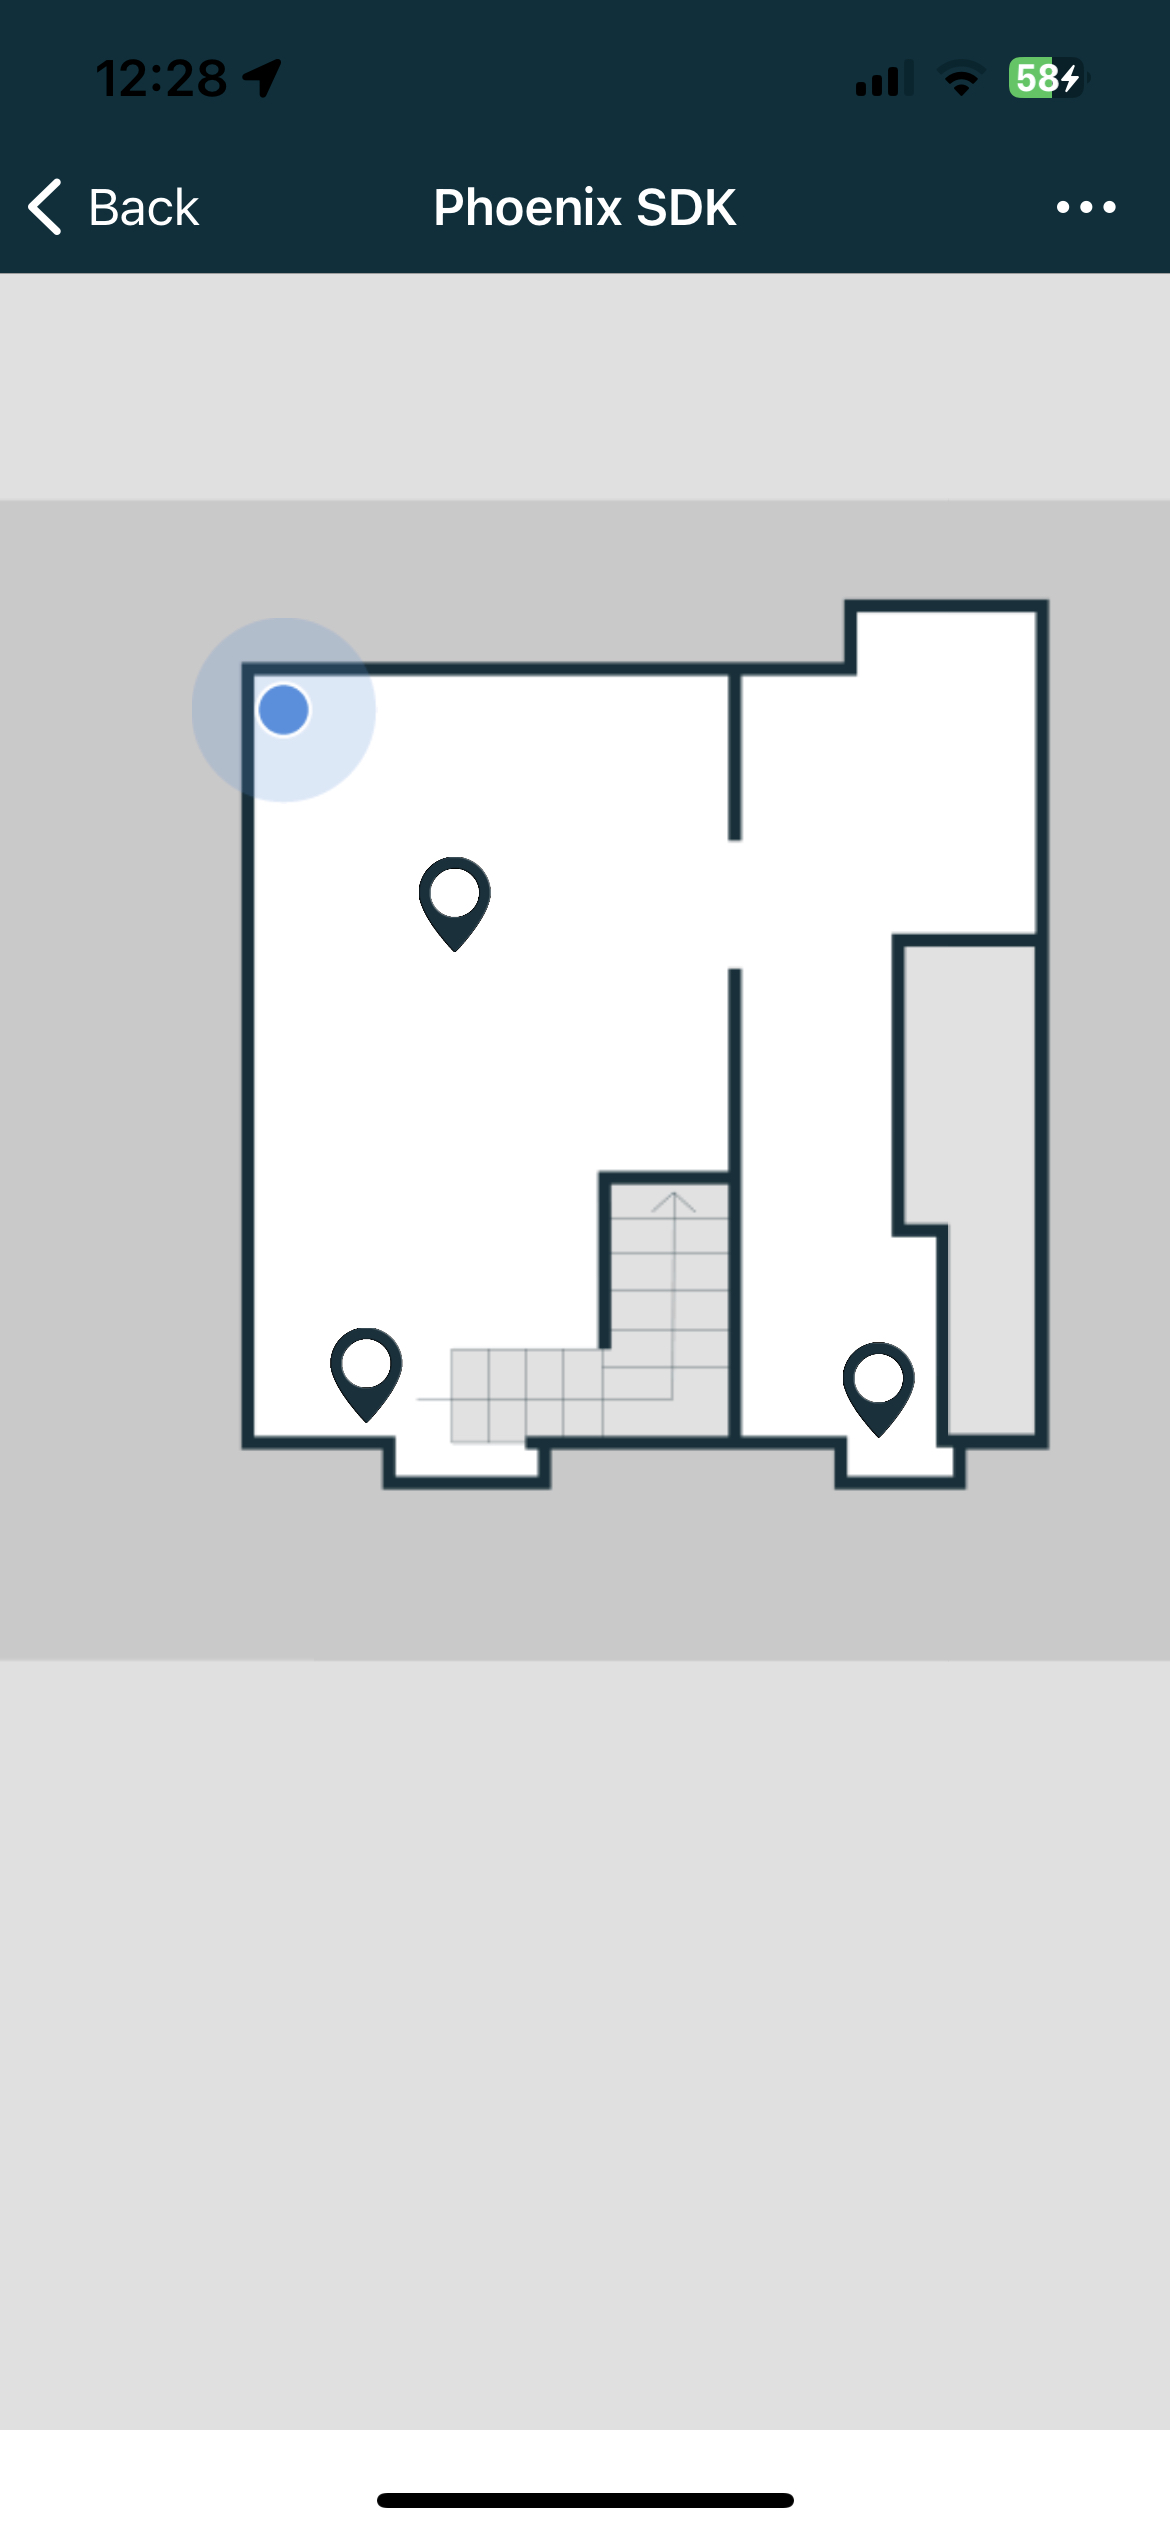
Show a new indoor map
Once a map is available, pass the tiles local directory, height and width of the map to the PhoenixMapHandler.
Those parameters can be obtained from the LocalizationRunningState during localization or from the specific map returned in the NextomeVenueData. More info on the venue data can be retrieve here.
Update user live position
When a new indoor user position is available, notify PhoenixMapHandler to update the blue point with:
Show a list of Point of Interest
You can set the list of Point of Interest to show on the map using this method:
Show a path between two points on map
You can show a path on the map using this method and passing a list of Vertex. You can automatically get the Vertext between a start and end point of the map using the appropriate method on the nextomeSdk:
Observe events on Flutter Map
With this observer you can be notified of events on the map, for example, when the user decides to navigate to a POI.
-
Extend the
NextomeMapDelegate -
Implement the onPoiClicked method to be notified when the user clicked on a POI.
-
Implement the onNavigationSelected method to be notified when the user wants to navigate to a POI.
Show Center Position Fab
It’s possible to show an optional fab at the bottom right of the map. When clicked, the button will:
- center the map on the user position;
- follow the user position live on map;
- rotate the map based on user compass;
To enable the button, use:
Change user position icon
The default position icon is a blue dot. If you want to change the icon, you can load a remote resource from an url.
handler.setMapViewSettings(customPositionResourceUrl = "url")
-
Extend the
NextomeMapDelegate -
Implement the onPoiClicked method to be notified when the user want to navigate to a certain POI.
React to activity lifecycle (Android Only)
PhoenixMapUtils 1.4.3.3
On Android, we suggest to foward to PhoenixMapUtils all the methods releated to the management of the activity lifecycle. This will allow to save and recover the state of the map if configuration changes happens (for example, when the user rotates the phone screen).
To do so, override the following methods in your activity:
    fun onPostResume() {
        super.onPostResume()
        handler.onPostResume()
    }

    fun onNewIntent(intent: Intent) {
        handler.onNewIntent(intent)
    }

    fun onBackPressed() {
        handler.onBackPressed()
    }

    fun onRequestPermissionsResult(
        requestCode: Int,
        permissions: Array<out String>,
        grantResults: IntArray
    ) {
        handler.onRequestPermissionsResult(
            requestCode,
            permissions,
            grantResults
        )
    }

    fun onActivityResult(
        requestCode: Int,
        resultCode: Int,
        data: Intent?
    ) {
        super.onActivityResult(requestCode, resultCode, data)
        handler.onActivityResult(
            requestCode,
            resultCode,
            data
        )
    }

    fun onUserLeaveHint() {
        handler.onUserLeaveHint()
    }

    fun onTrimMemory(level: Int) {
        super.onTrimMemory(level)
        handler.onTrimMemory(level)
    }
Additionally, you must add this line in AndroidManifest.xml to all the activities that use NextomeMap: