Installation guide for smartphone based localization
Smartphone Tracking
Prerequisites
Before reading this document, it is recommended that you read the document 'The two solutions and the tools' and the definitions of the following concepts (in the document 'Fundamental Definitions'):
-
Beacon.
-
Map.
-
Venue.
-
POI.
-
Path.
Aim of the document
This document explains how to install the technology that allows to locate the position of the smartphone on which the 'Nextome' application is installed.
Components
The items required for the solution to work are listed below:
- Beacon sensors working as anchor references.
- ‘Venue Configurator’ application to be installed on the smartphone used to install the technology.
- 'Nextome’ application to be installed on each smartphone to be localized.
Installation phases
Phase 1 - App download
Download the application ‘Venue Configurator’ that is needed to execute the installation.
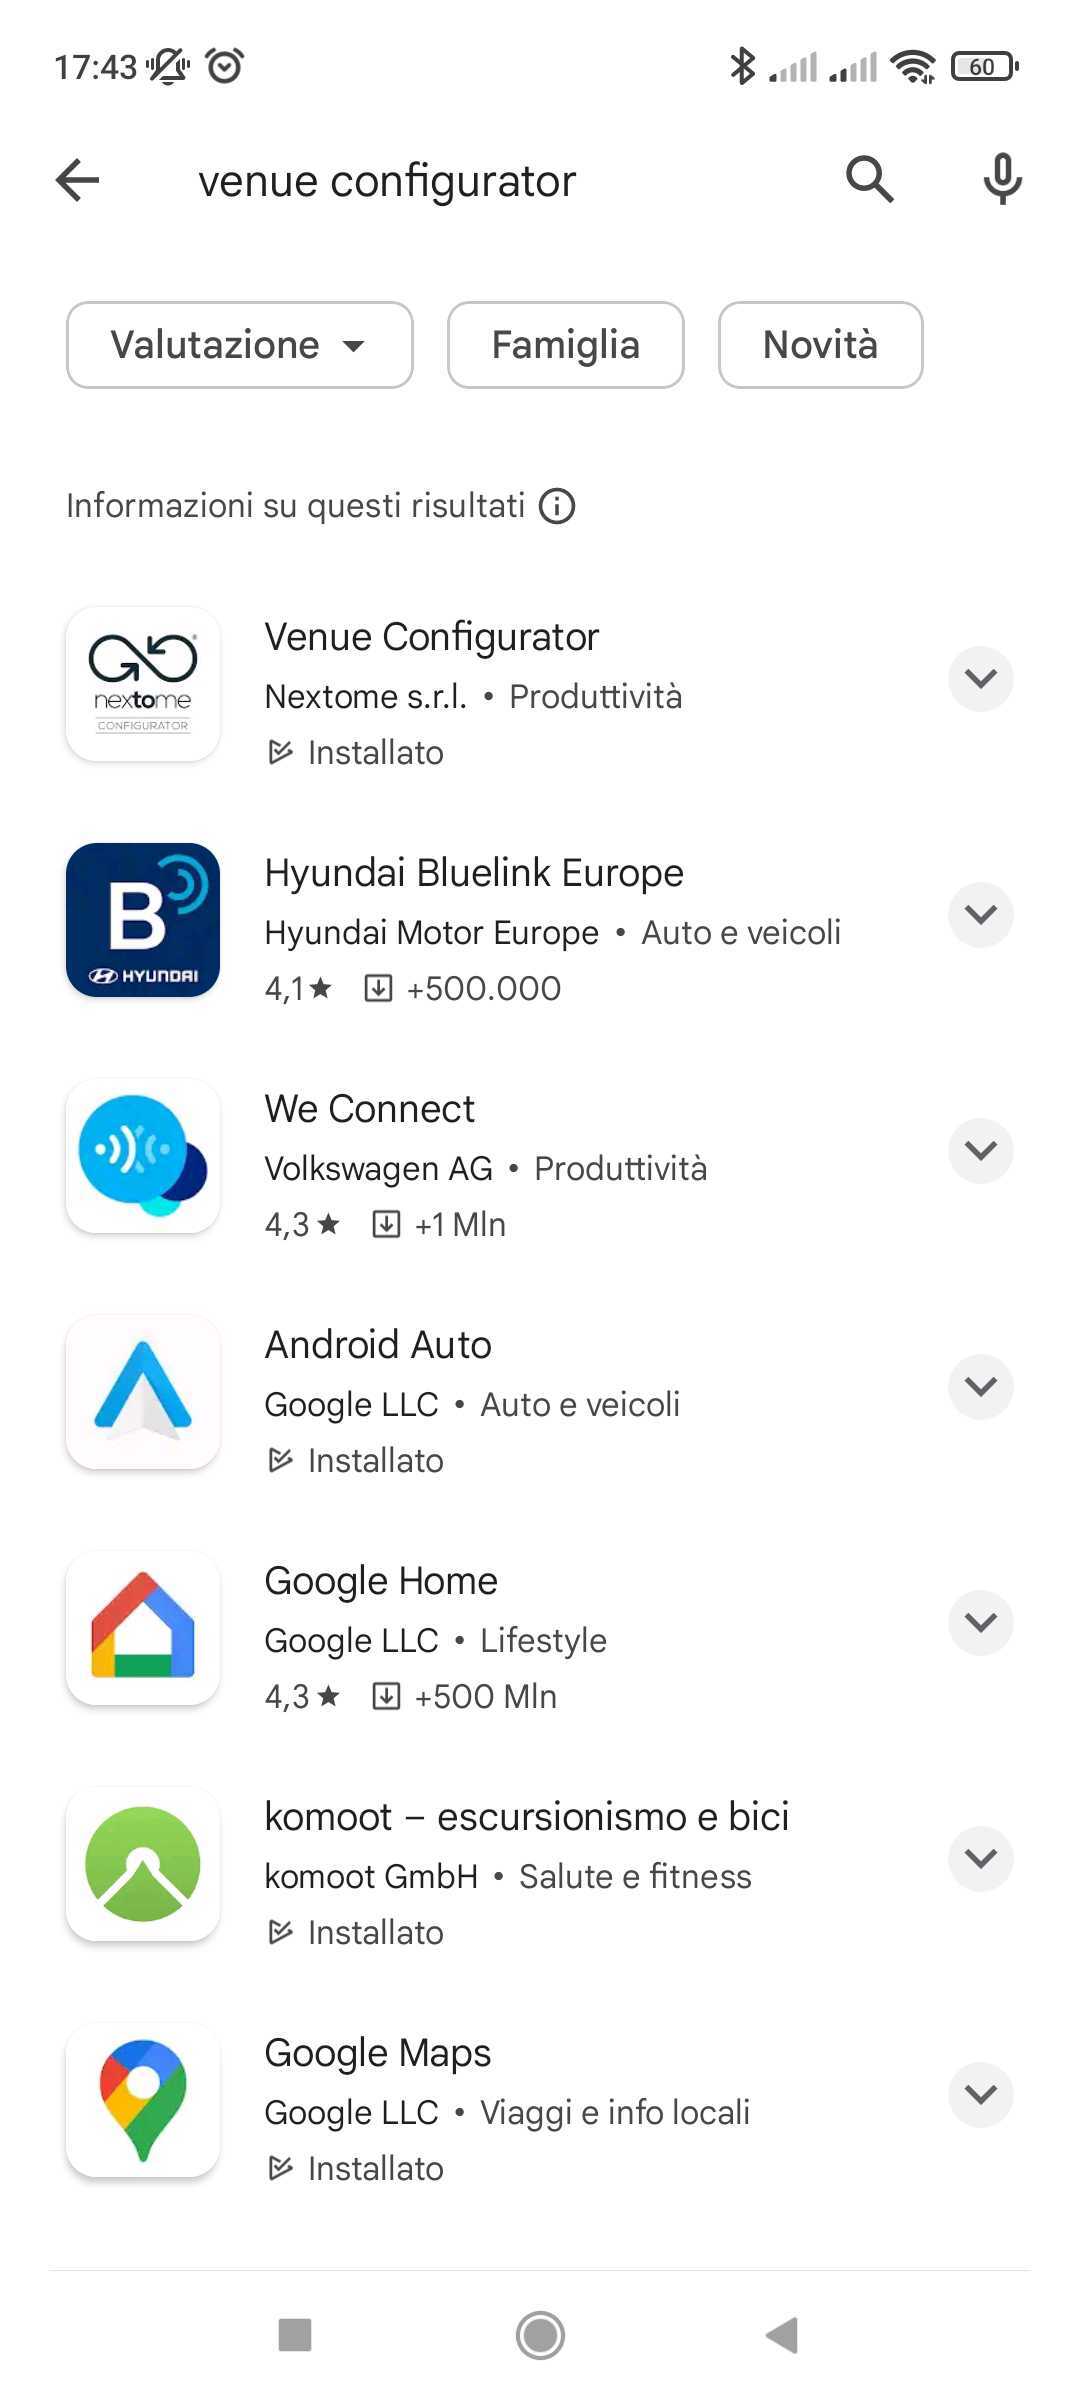
Login with the credential that are released by Nextome.
Phase 2 - Beacons installation and registration
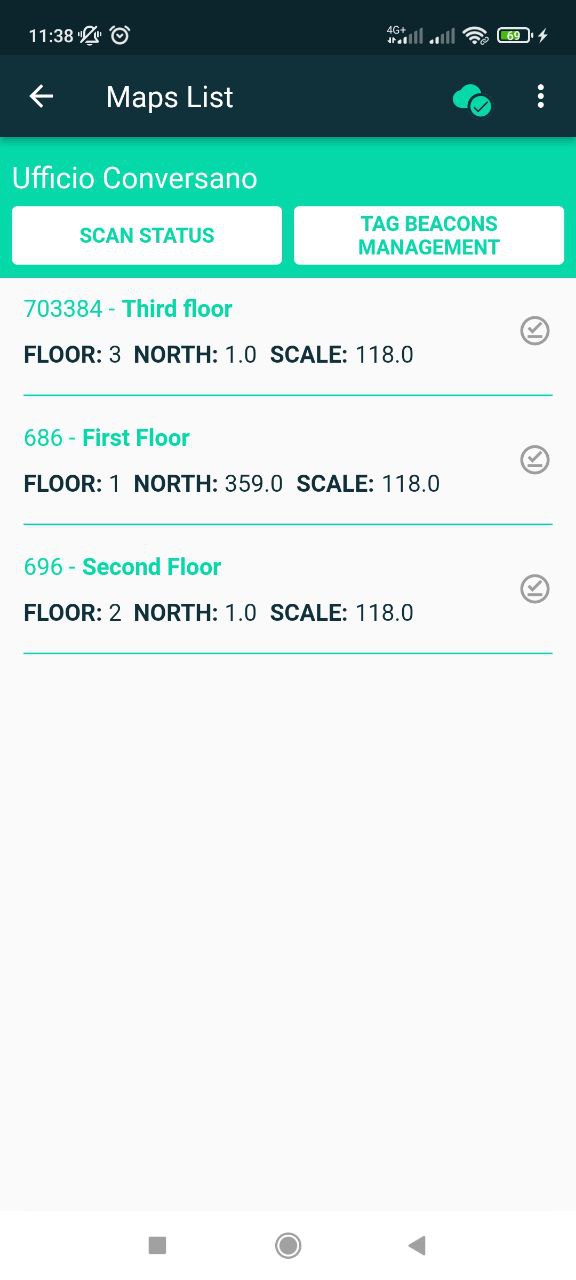
Placement and registration of Beacon sensors playing the role of referencere anchors using the ‘Venue Configurator’ application. Search and select the right venue among those that are registered.

Select the right floor map among those that are registered for each venue.
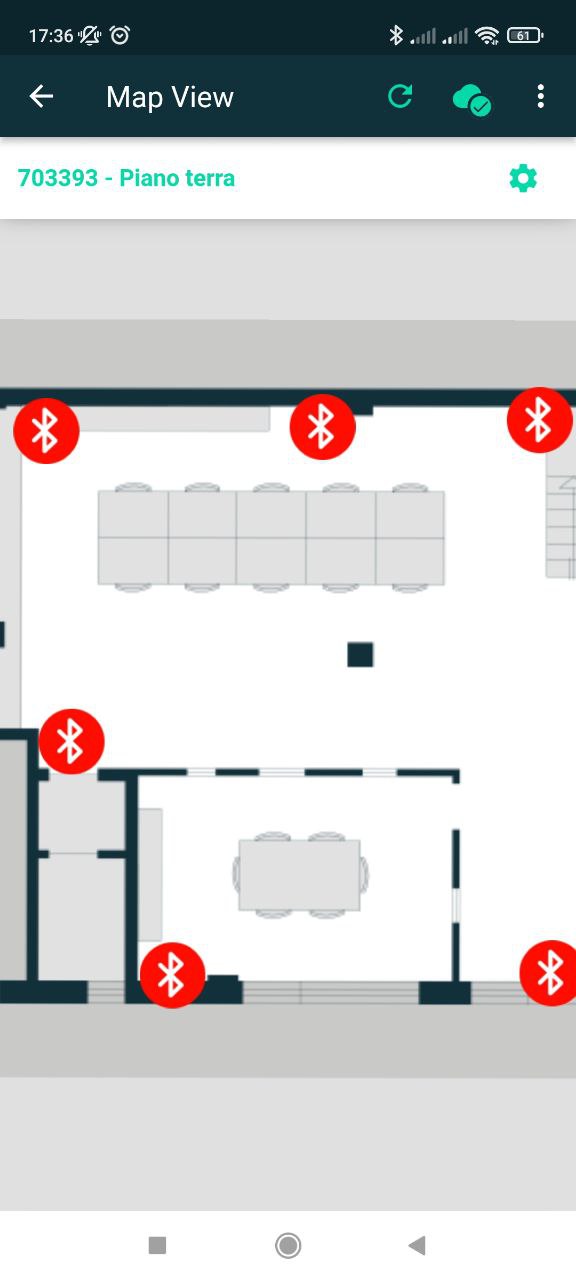
Place each Beacons sensors in the positions that are suggested by Nextome. For each sensor:
- Tap on the exact position on the map, this will activate the scanner of the smartphone, so that the latter will be ready to detect the right Beacon.
- The scanner will detect the Beacons that are close to it. All the detected Beacons will appear in form of a list. Keeping the Beacons as close as possible to the smartphone (see following figure) while it is in “reception” mode will make the scanner able to detect the Beacons with higher Received Signal Strength Indicator (RSSI) values. The higher the RSSI value, the closer the Beacon.
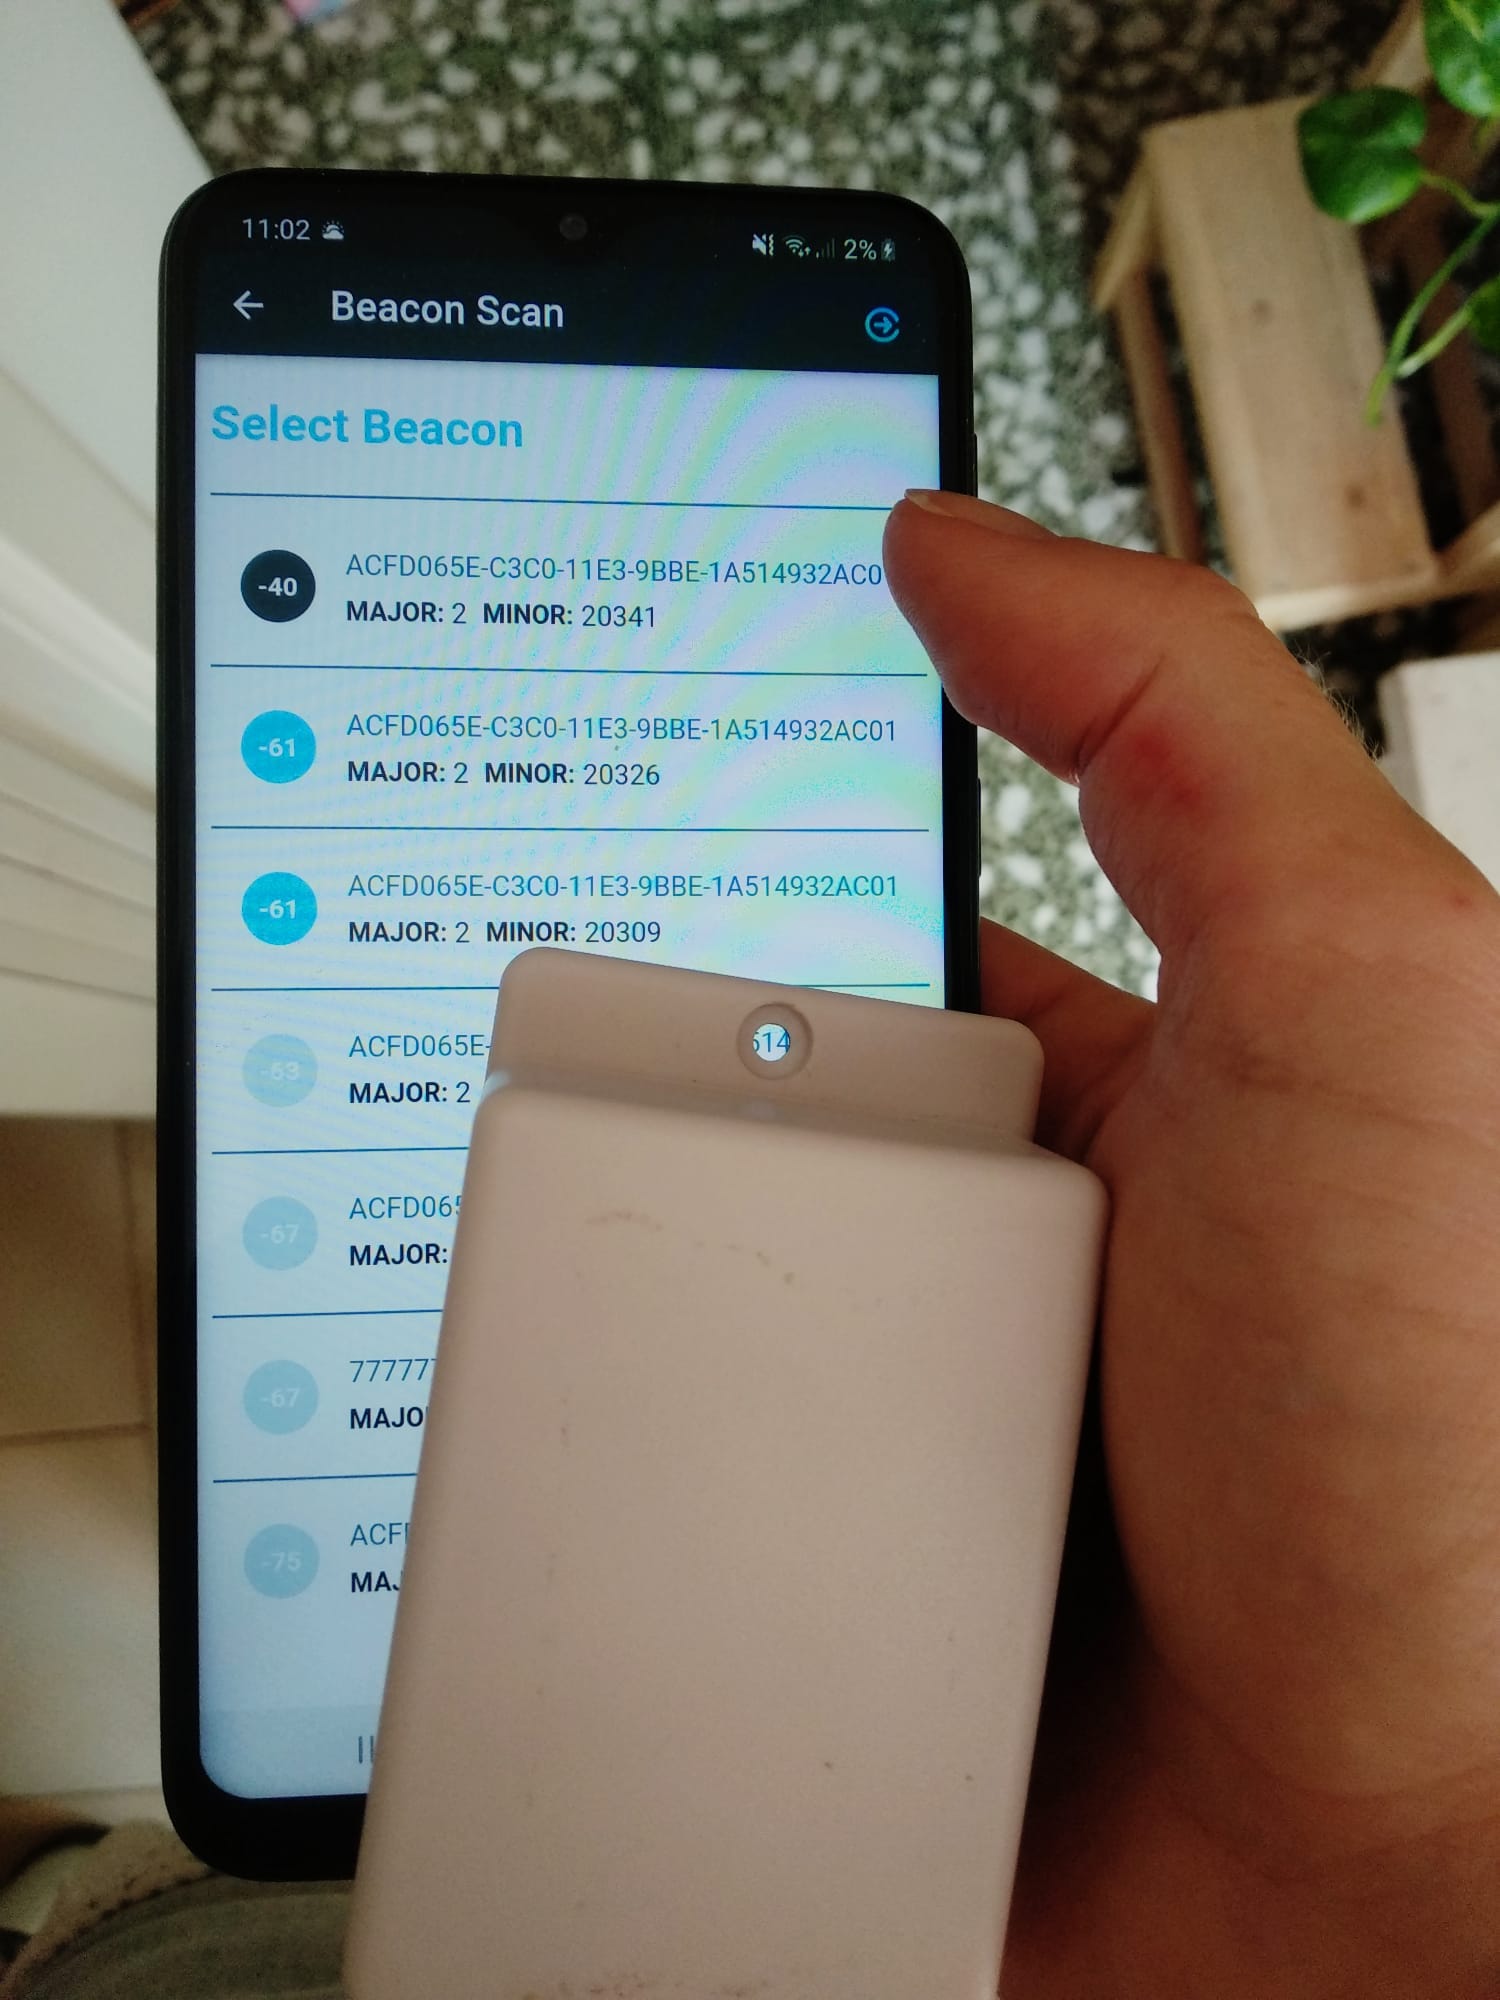
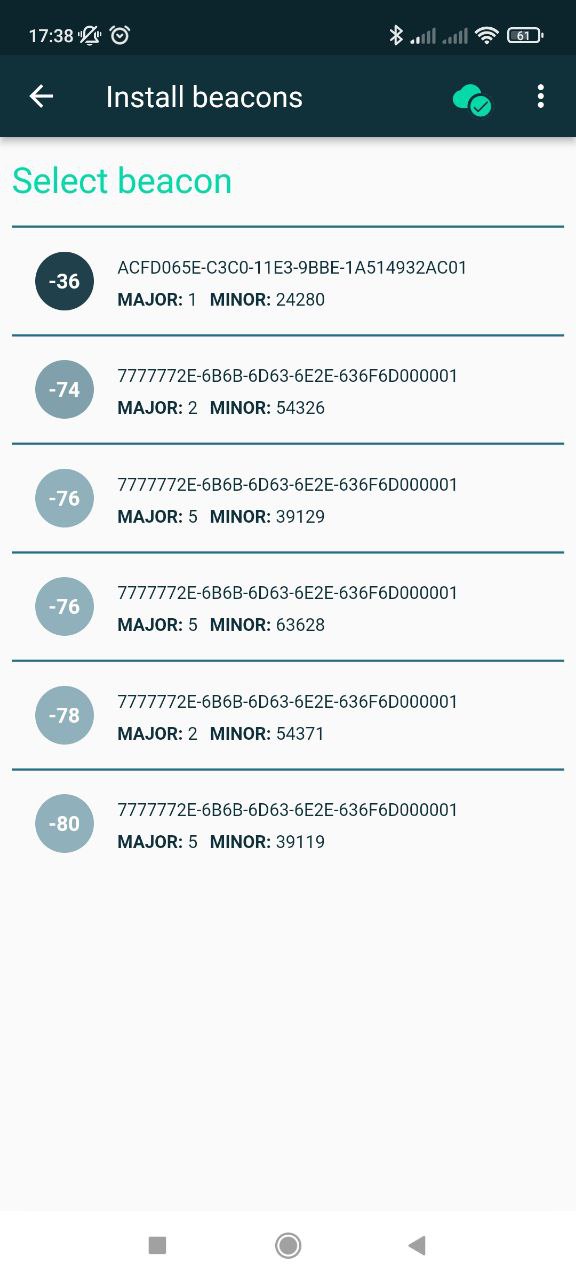
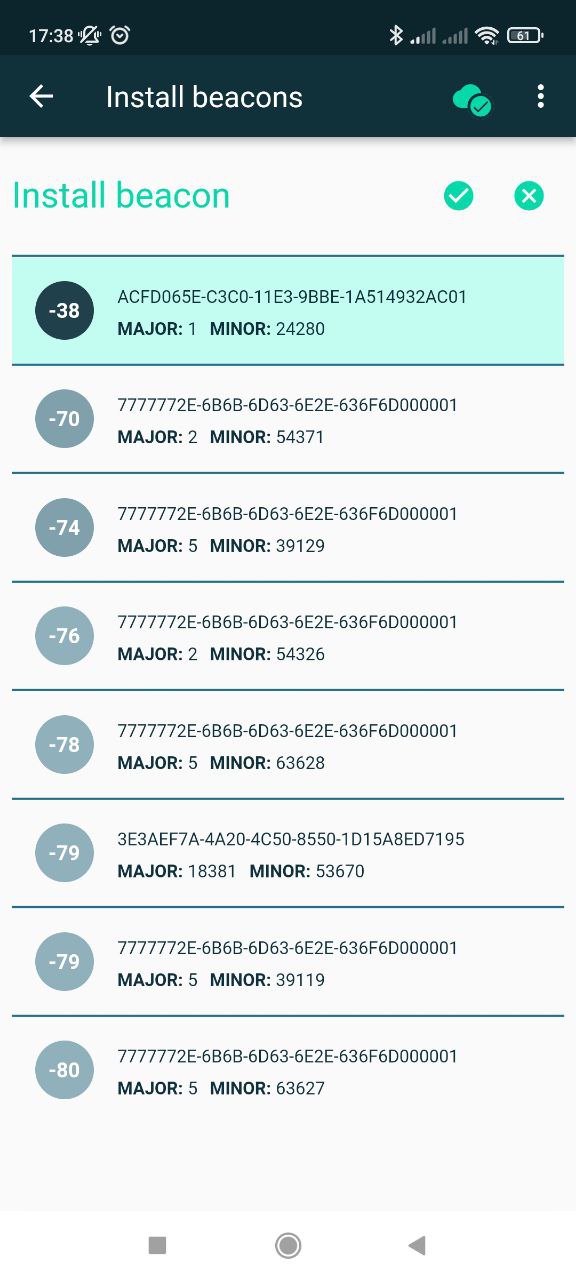
As shown in previous figure, the list of the Beacons that are detected may have multiple items. Of course, the bigger the venue, the larger than number of Beacons detected at the same time. As it can be seen, the number in the circle on the left side of each item represents the strength of the signal that is received by the RSSI detector. Be sure to select the Beacon that is closer to the smartphone while you are as far as possible from the other Beacons (see following figure): it will appear on top of the list or, in any case, it will be the one with the higher value. After selecting the right Beacon, tap on it and use the 'V' icon on the upper right corner (Figure 7).
If the registration procedure is successful, the following message will be displayed: ‘Beacon added’ (Figure 8).
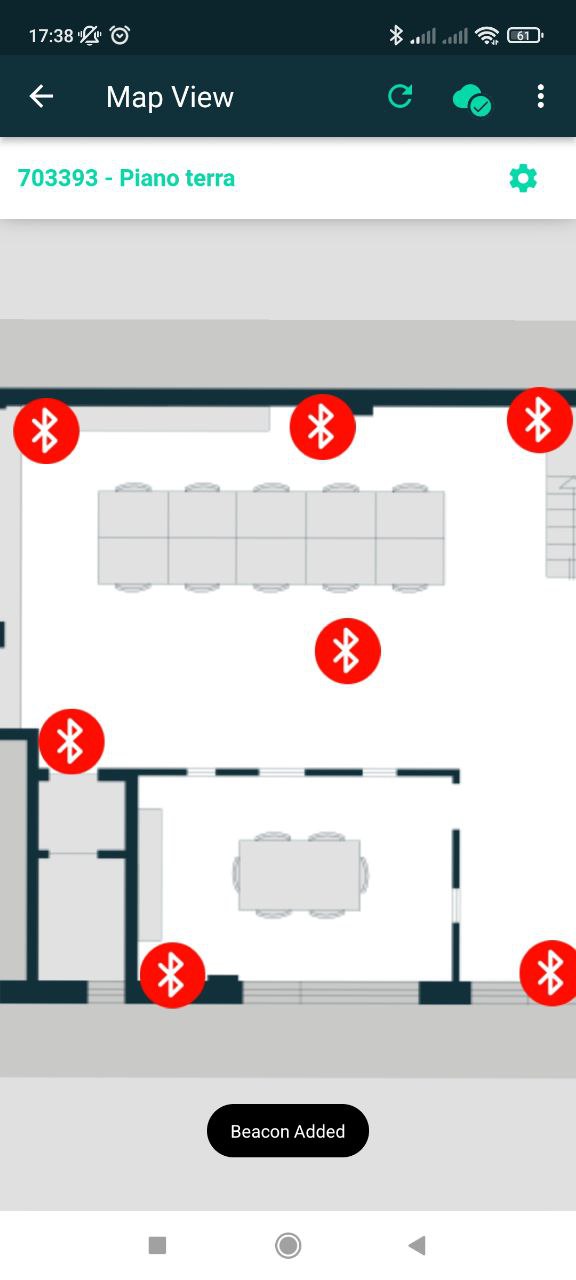
A red icon will be displayed on the map in the selected release point.
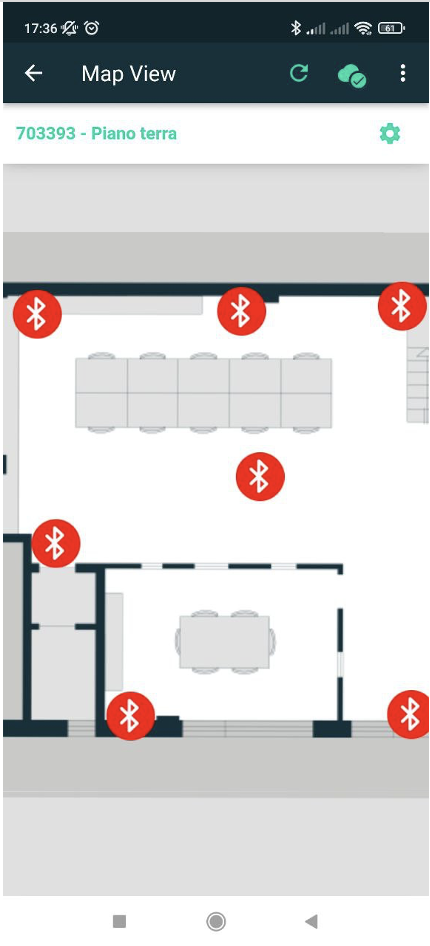
After registering the Beacon, it will be possible to place the sensor on the ceiling or on the walls in the corresponding point of the map. For better results, the Beacons should be installed at about 3 m height (in case of lower ceilings, place the Beacons as high as possible). It is important to try to install the beacons all at the same height because the algorithm expects the heights to be equal. For installation purposes, please consider using screws or tape. To avoid disturbing the signal, avoid placing the Beacons behind metal walls or inside metal containers.
Phase 3 - Location of the smartphone
Download and execution of the ‘Nextome Indoor Positioning’ application, that is needed for the calculation, visualization, and memorization (if needed) of the position of the smartphone placed inside the building.
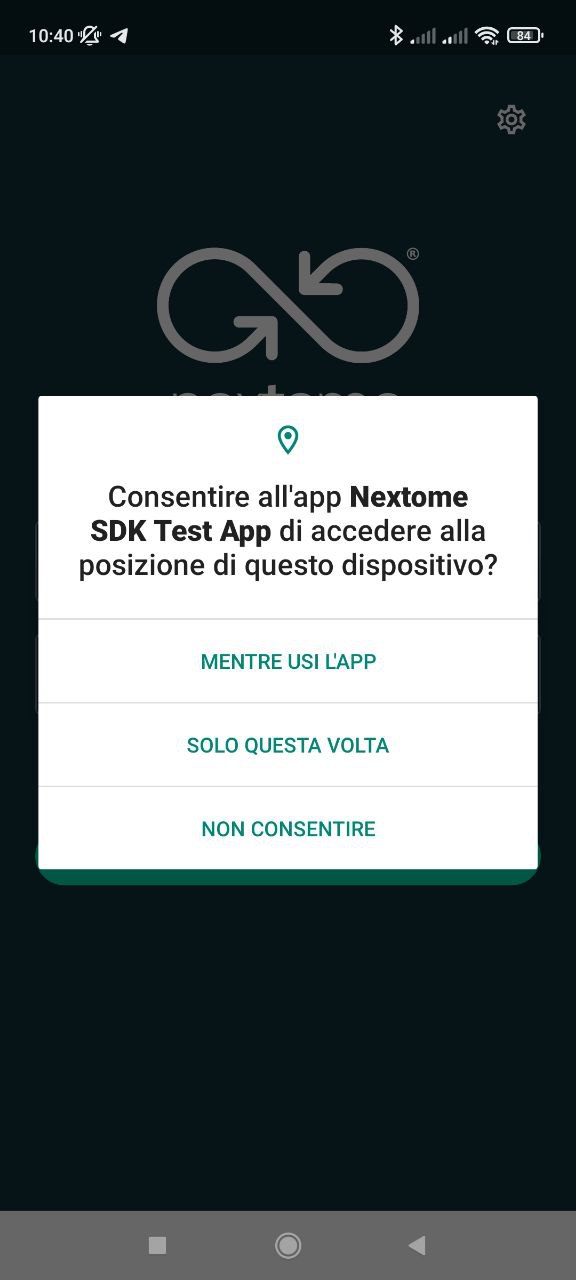
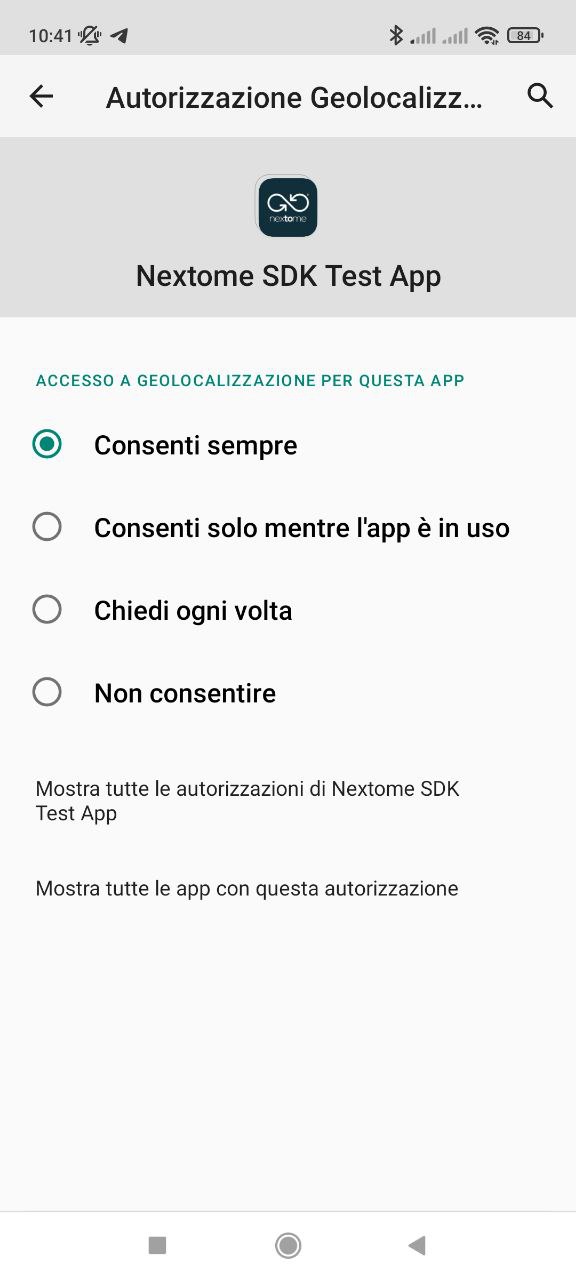
Open the app and enable the required permissions on the following screens.
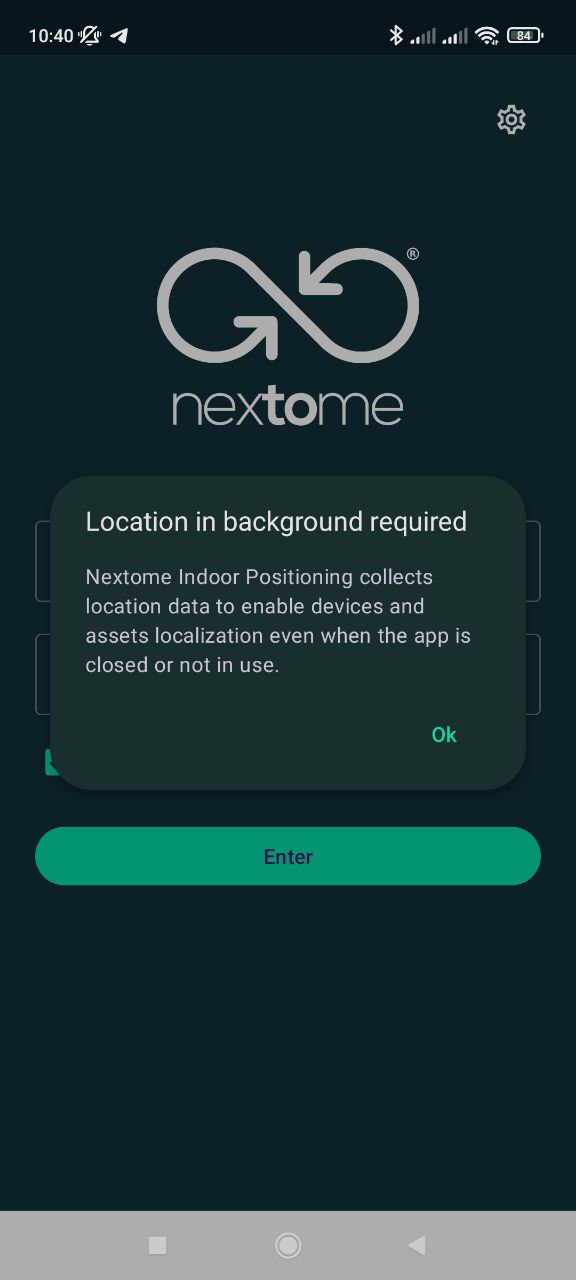
If you need the app to work in the background as well, it's important to ensure that the app's battery optimization settings are not enabled. These settings are organized differently for each mobile phone model. You can find a guide on how to prevent the app from being terminated while running in the background for your specific smartphone model at the following link https://dontkillmyapp.com/.
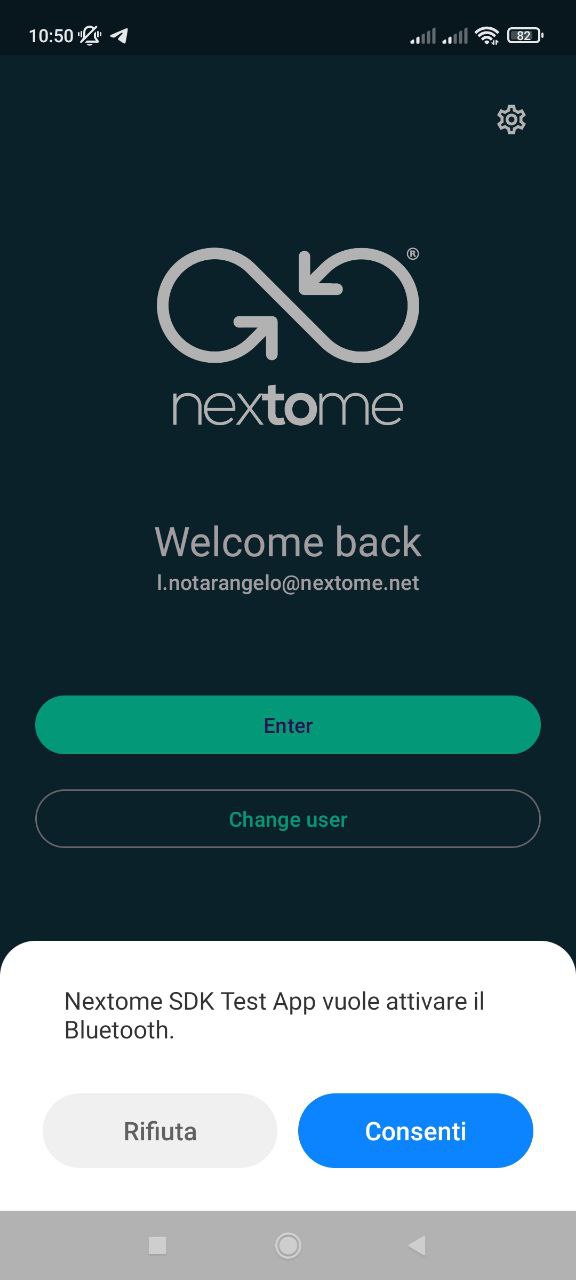
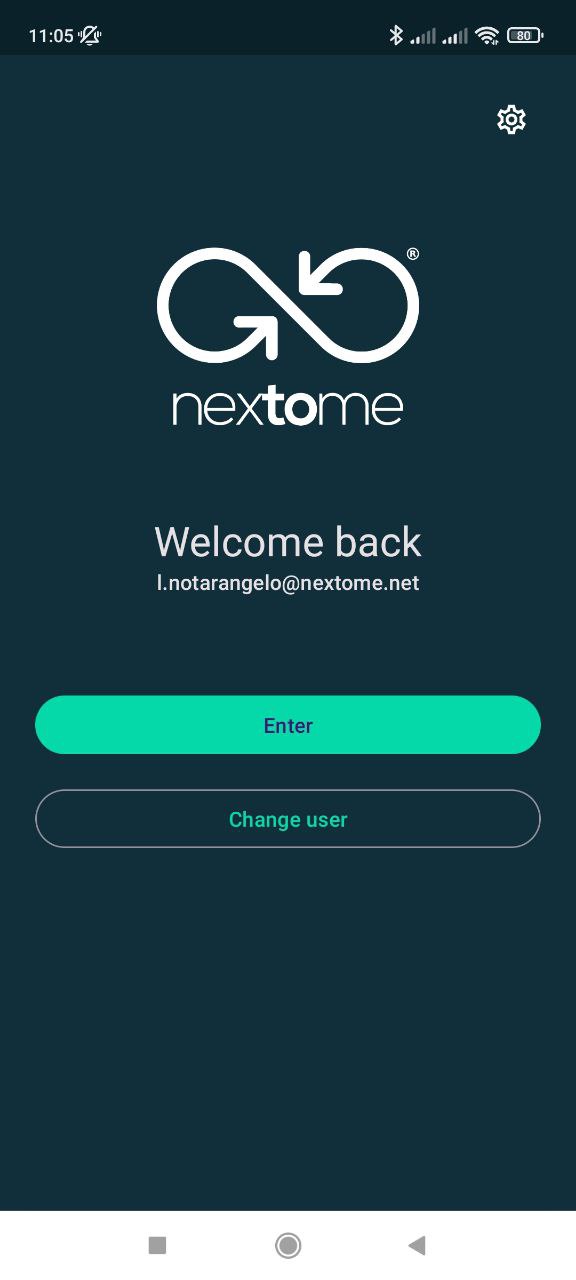
Once all permissions are accepted, it is possible to log in and activate localization by selecting 'Enter' in the screen shown in following figure.
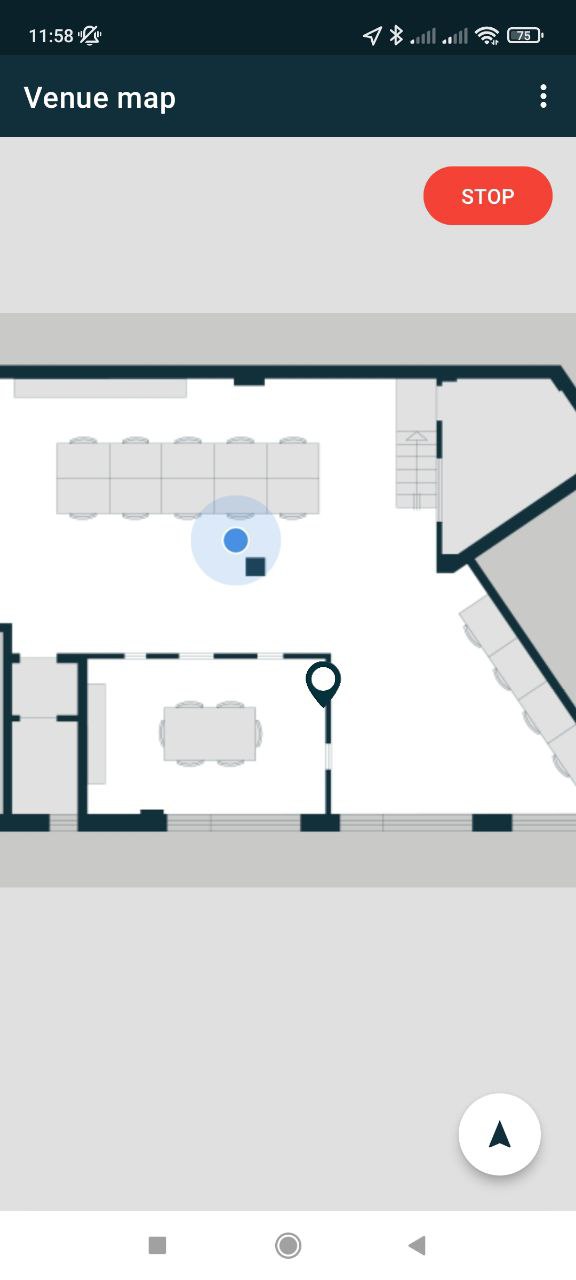
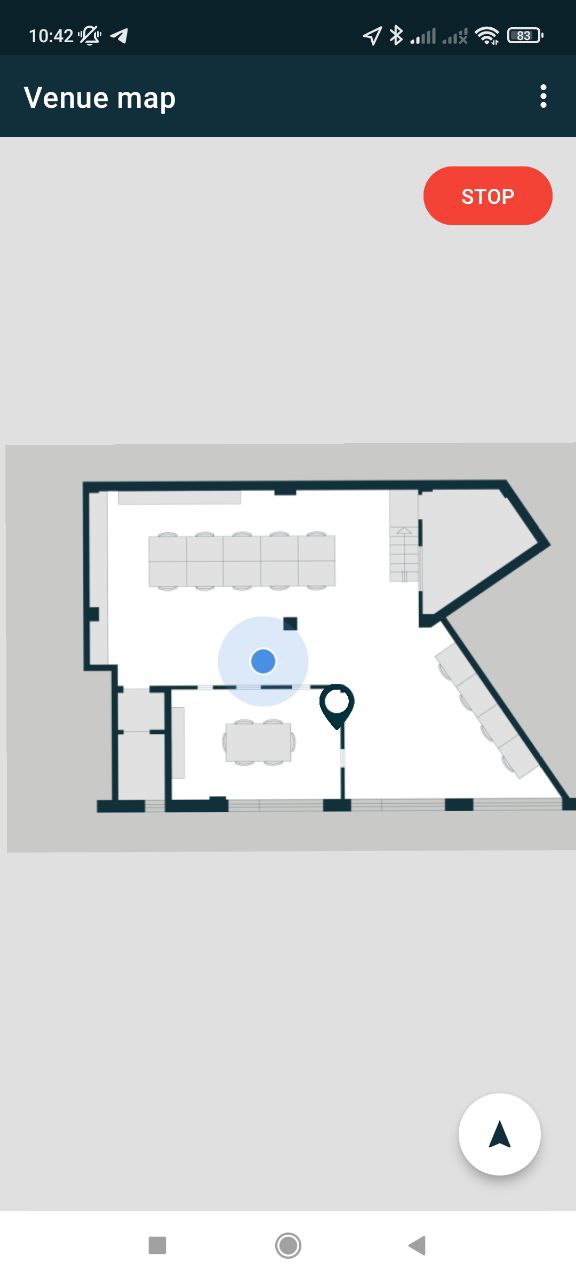
After a search session of a few seconds (Figure 16) the app will independently identify the Venue and the Map (floor) where the smartphone is located, and it will be possible to visualize the identified position of the smartphone by means of a blue spot placed inside the map (Figure 17).

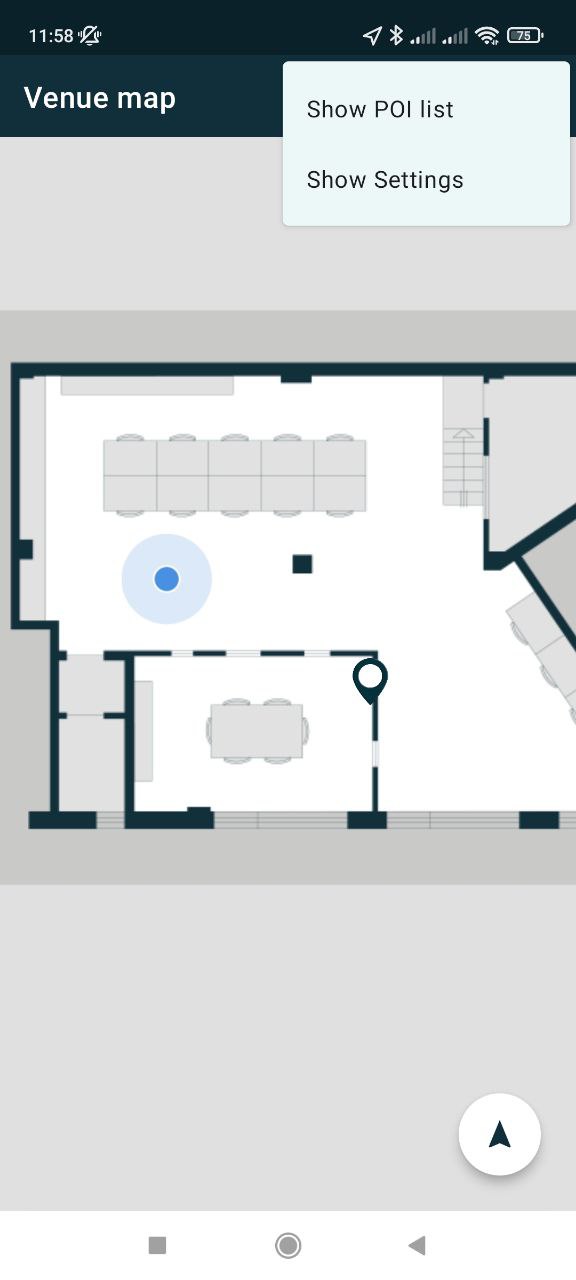
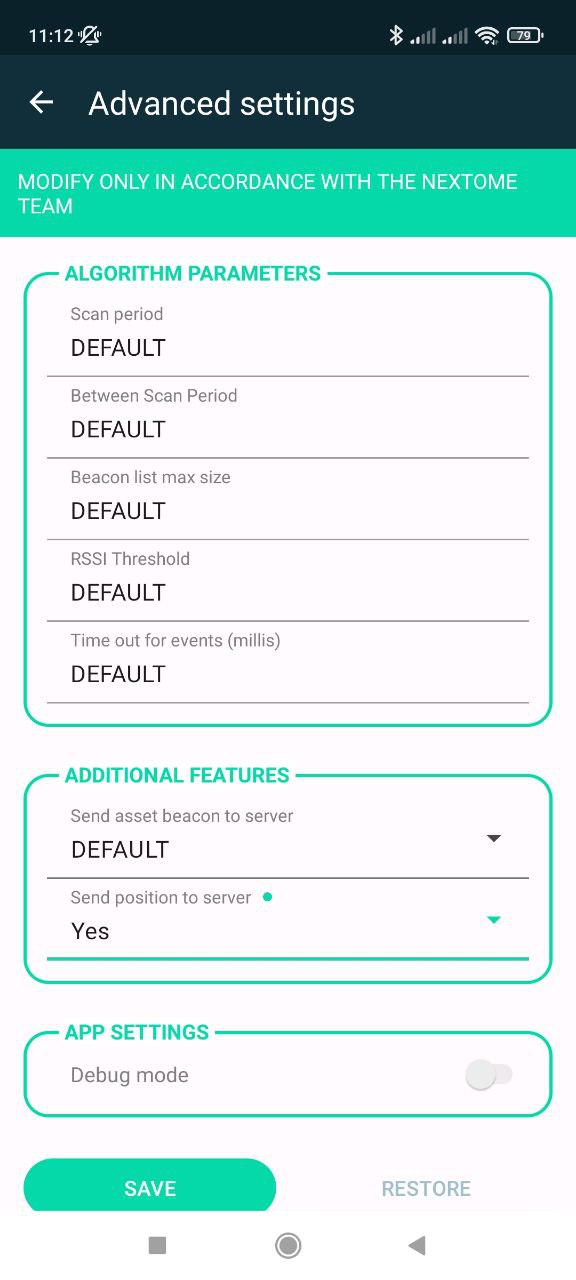
By default (if the settings are not changed from the Nextome hub web), positions are only displayed on the map. In case positions should be saved on the database, it would be needed to set on ‘yes’ the “Send positions to server” option that is available in the settings menu of the application. In particular, as the application starts, as in Figure 18, use the upper right icon to access the Setting section and flag the option as in Figure 19. If the settings are changed from the app, they are valid only on the smartphone on which they are changed. If instead they are changed from the Nextome Hub Web, they are generally valid for any smartphone located in the Venue. It is recommended to change the settings only in agreement with the Nextome team.
Once the positions are saved on the database, it is possible to access them by means of dedicated APIs that are described in a dedicated document. It is worth noting that data retention times follow the rules established by the Nextome Hub Web. The positions on the database are subject to a daily cancelation, so the available positions are related to the current day. The access to prior positions can be granted by Nextome if this is explicitly required to Nextome, together with the desired period.
Phase 3.1 - Navigation
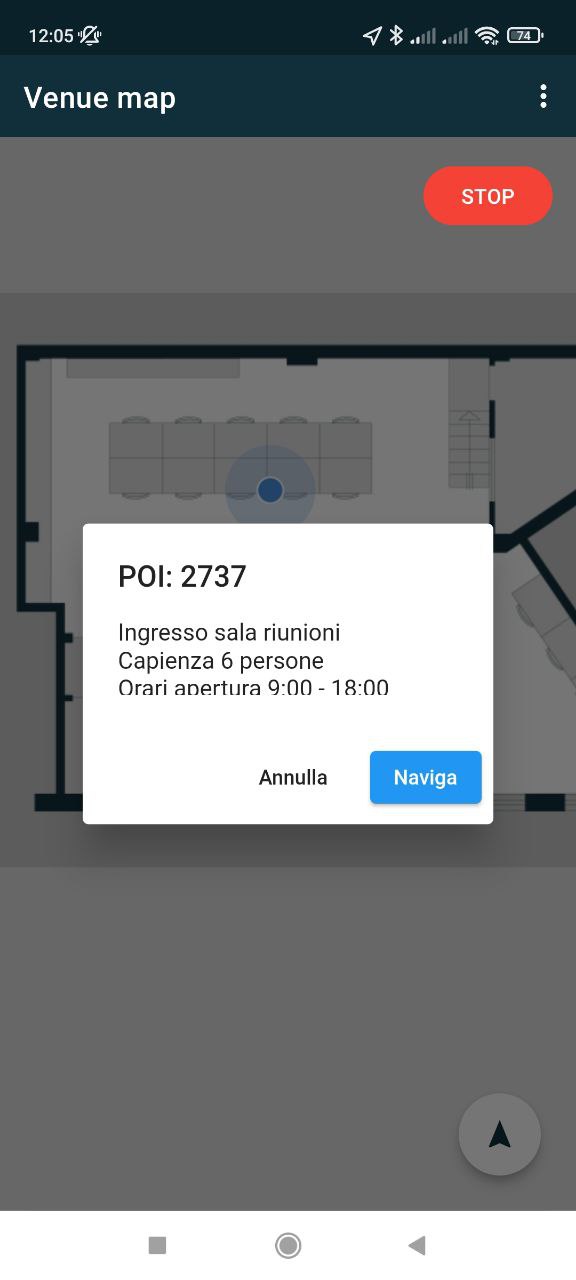
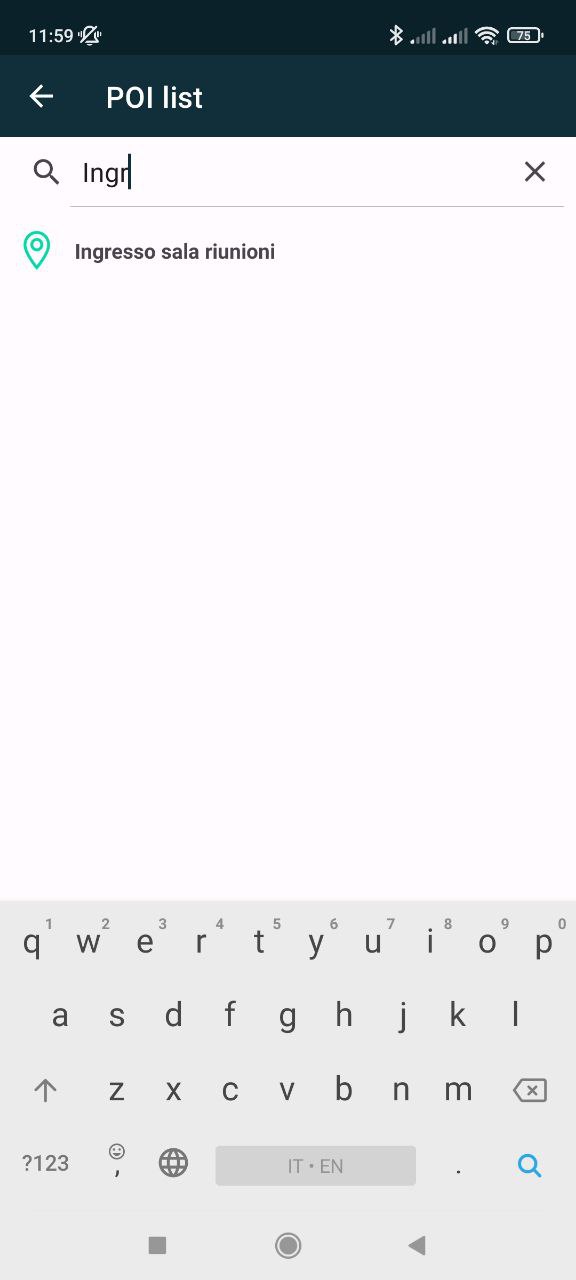
If you want to use the navigation service, you must first add the 'POIs' and ‘Paths’ through the 'Nextome Hub web' portal. The POIs, i.e. the points to which navigation can be enabled, will therefore be viewable and navigable within the 'Nextome Indoor Positioning' app, in the following two ways:
- Click on the pin icon on the map (Figure 20) and start navigation by selecting 'Naviga' in the screen in Figure 21
- Semantic search of the POI (Figure 22) which can be accessed by selecting the item 'POI list' in the screen in Figure 23.