Installation guide for tag tracking
Tag Tracking
Prerequisites
Before reading this document, it is recommended that you read the document 'The two solutions and the tools' and the definitions of the following concepts (in the document 'Fundamental Definitions'):
-
Gateway.
-
Map.
-
Venue.
-
Tag.
Aim of the document
Install the technology that allows to localize the position of assets/people associated to Tag sensors.
Components
The items required for the solution to work are listed below: - Tag to be associated to objects to be localized. - Gateway working as fixed anchors for position calculation. - Nextome Hub Web (https://hub.nextome.com/) to complete the registration procedure of the Gateways on the map and to visualize tag's positions.
Installation phases
Phase 1 – Gateways configuration
For the configuration of the Gateways, Nextome will provide a specific guide based on the type of Gateway.
Phase 2 - Gateways installation and registration
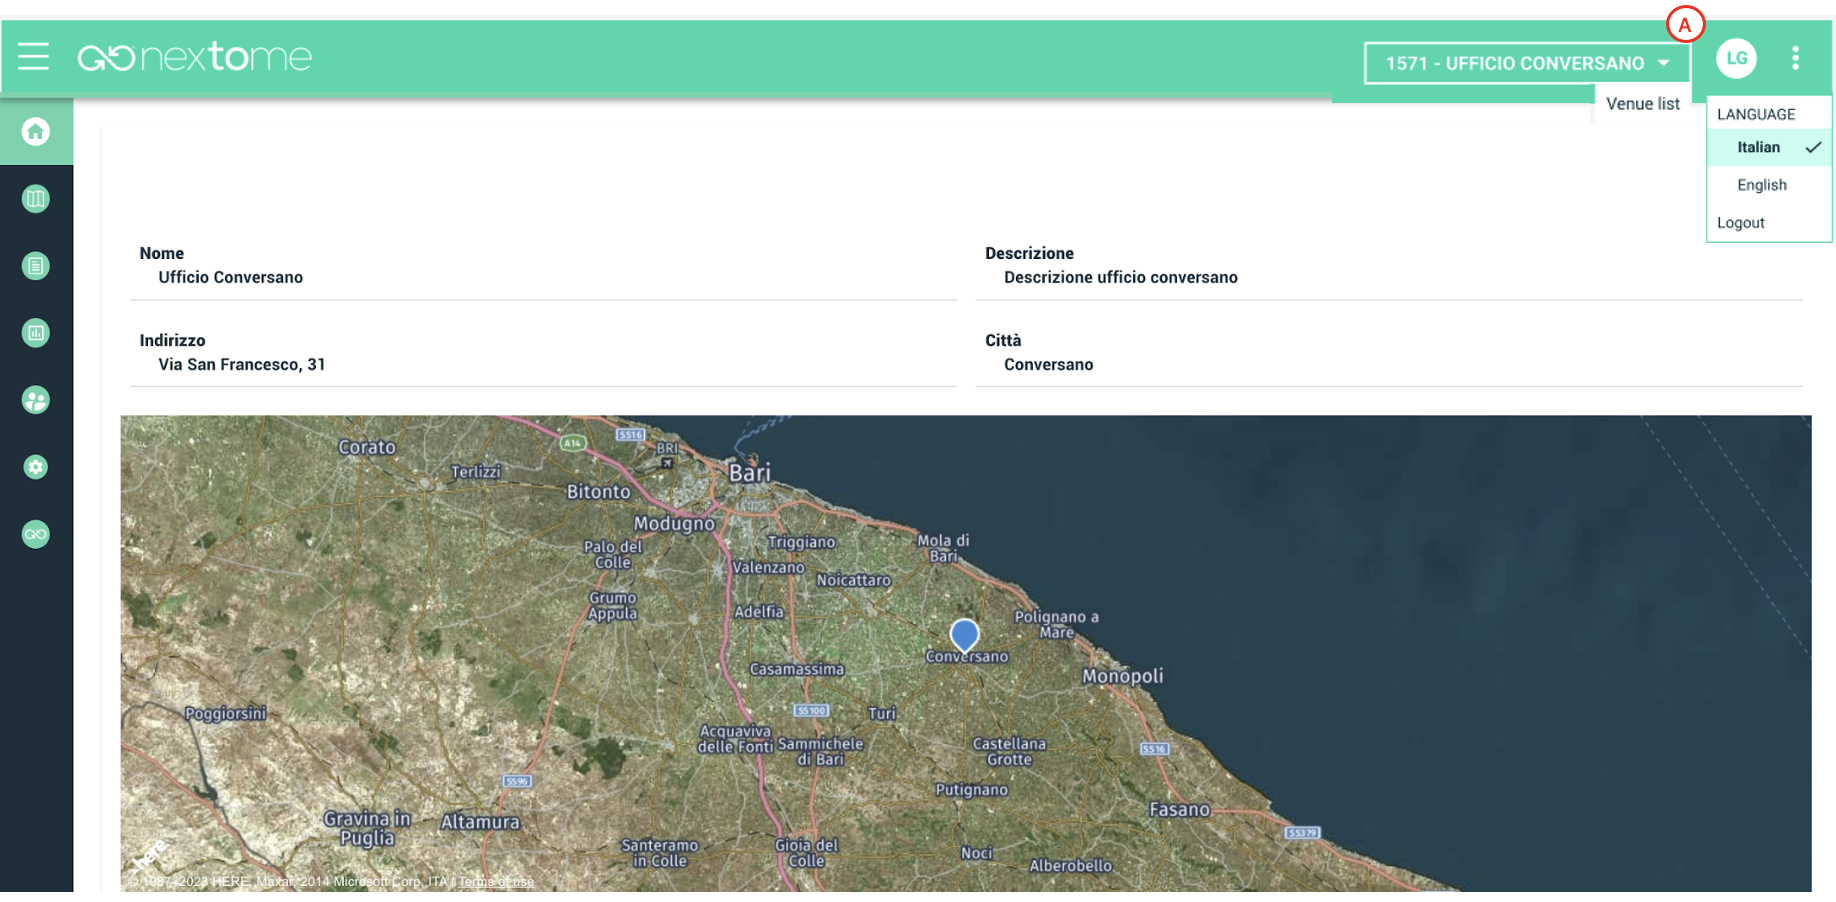
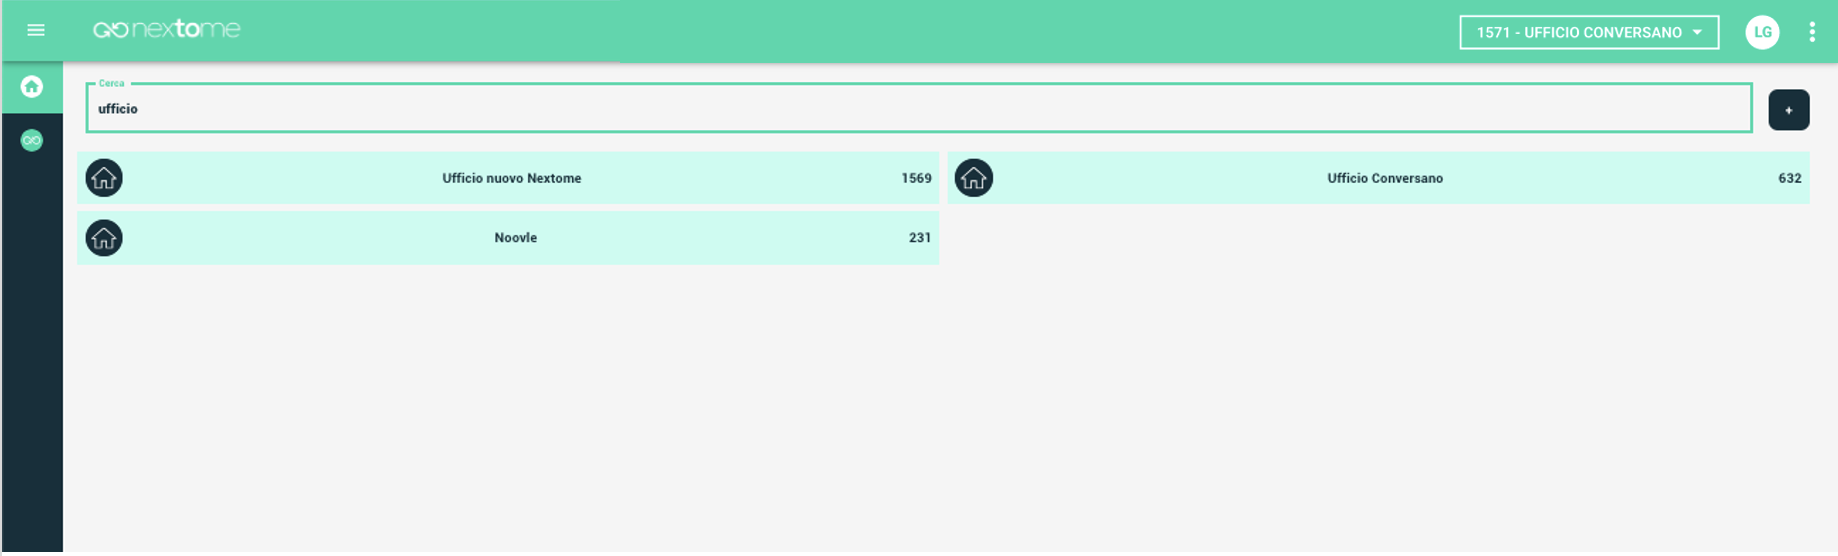
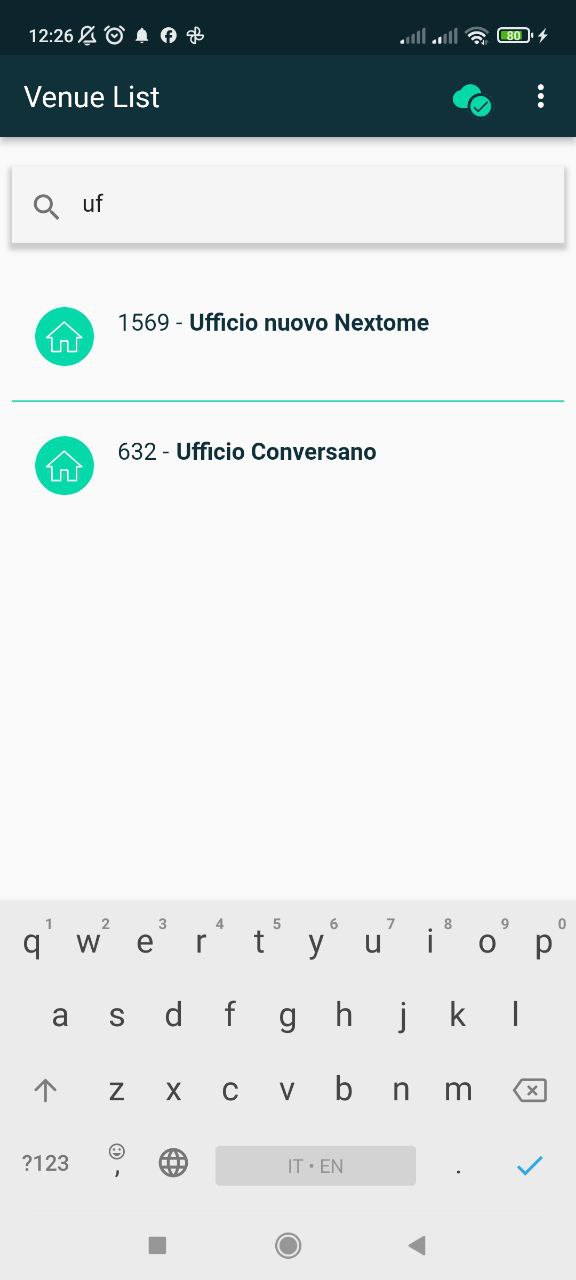
Once a Gateway has been connected, it must be powered and installed in the position that has been suggested by Nextome preferibly at a height of 3 m (if the ceiling is lower, please consider placing it at the highest possible position). Each installed Gateway must be registered in the Nextome Hub Web. Login in the website using the given credentials and click on area 'A' (Figure 1) to access to the list of Venues (Figure 2) connected to the user account. At this point it is possible to select the the right Venue.
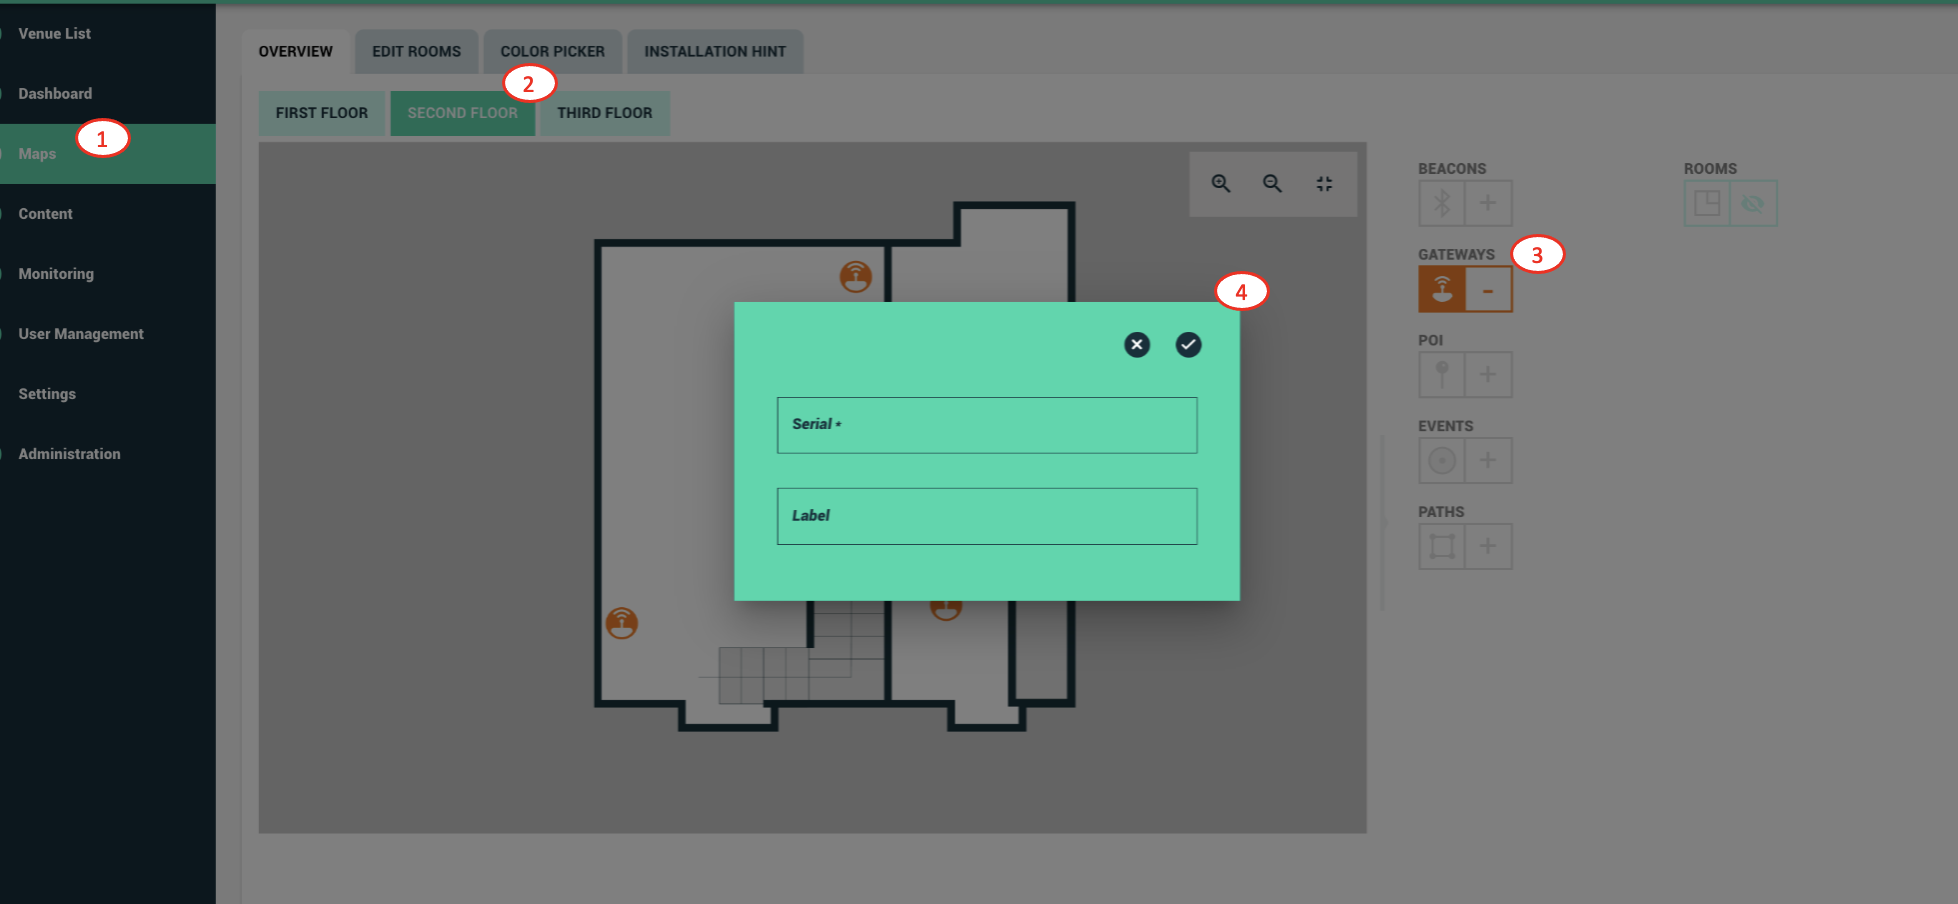
To register a Gateway in the Nextome Hub, access the maps section from the side menu (Figure 3, area 1), choose the map in which you will install the Gateway (Figure 3, area 2), click on the '+' symbol close to the orange icon with the label 'Gateway' (Figure 3, area 3). A Gateway's icon appear at the cursor. Place it in the correct position on the map. Once the point has been selected, a window will appear showing the fields to be filled with the required Gateway information (Figure 3, area 4). Be sure to insert the correct code as given by Nextome.
Below, an example of a map with 3 Gateways installed and registered.
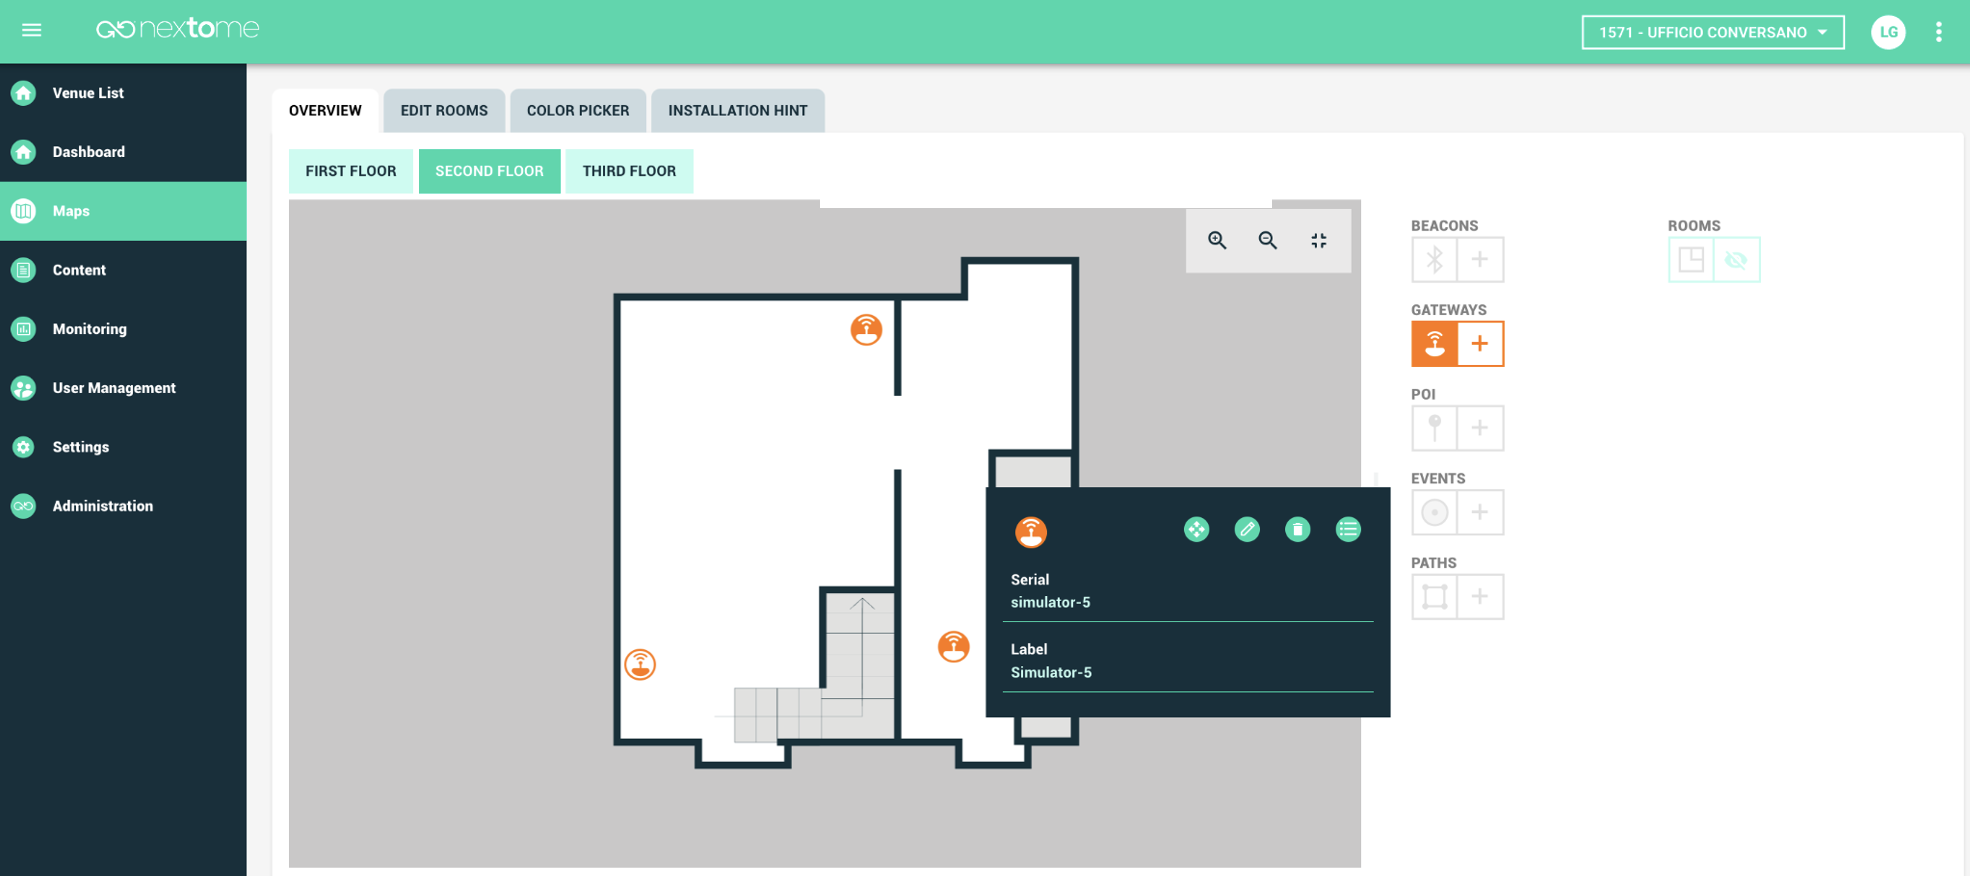
It is important that the gateways are registered on the map in the same point where they are actually installed.
Phase 3 - Tags registration
This phase consists in associating the tags to the people/objects to be located. In addition to the physical association, it is also necessary to register them within the Nextome Hub.
Registration by Nextome Hub Web
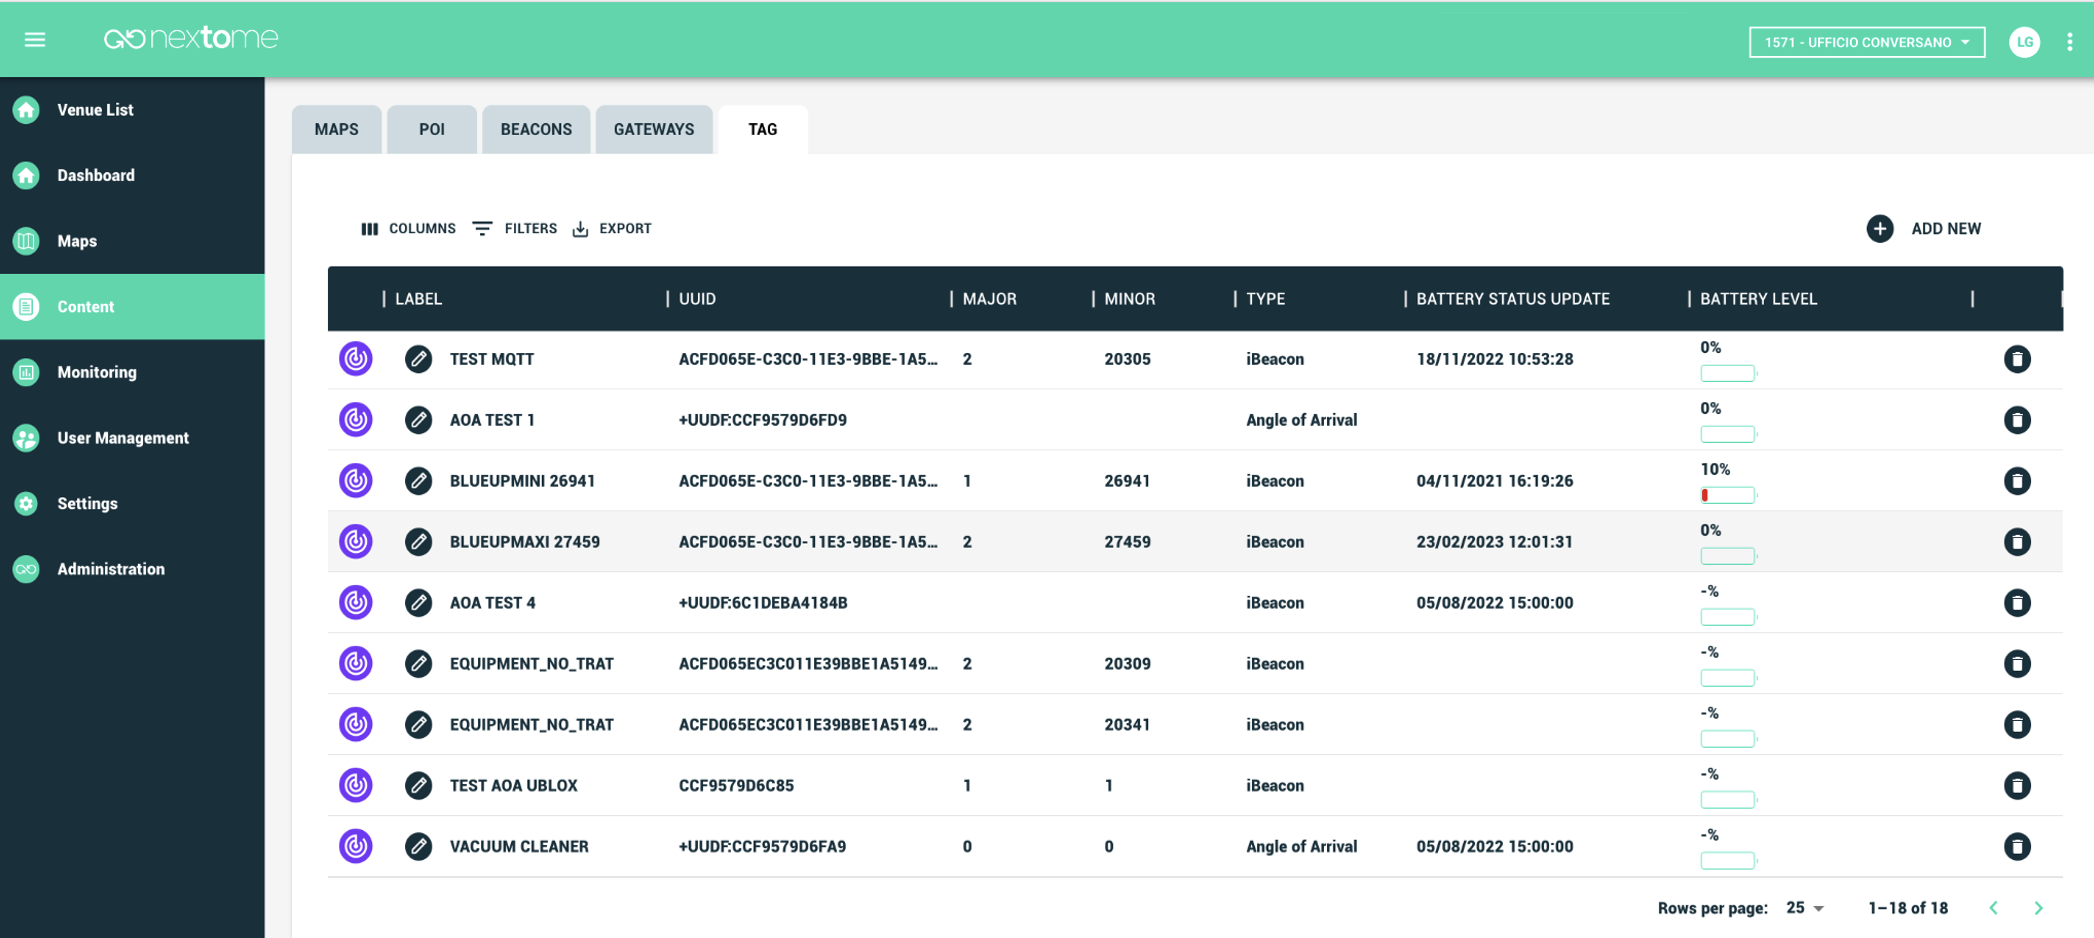
To register a Tag by the Nextome Hub Web, access the Content section from the side menu (Figure 5). Note that the addition of this resource is not present in the maps section, as a tag to be located cannot be associated with a specific position on the map during registration, precisely because it is a tag whose position is not known. Tags of this type are then associated with the Venue they are located in. Nextome technology allows you to locate the map and position where they are. The registration of this type of tag is carried out exclusively through the current section. Figure 5 shows the table containing all the tags to locate present in the selected venue.
By clicking on 'ADD NEW' a new tag can be registered through the screen highlighted in Figure 6. The choice of selection between 'Asset' and 'People' depends on the use made of the tag and determines the label that will identify it.
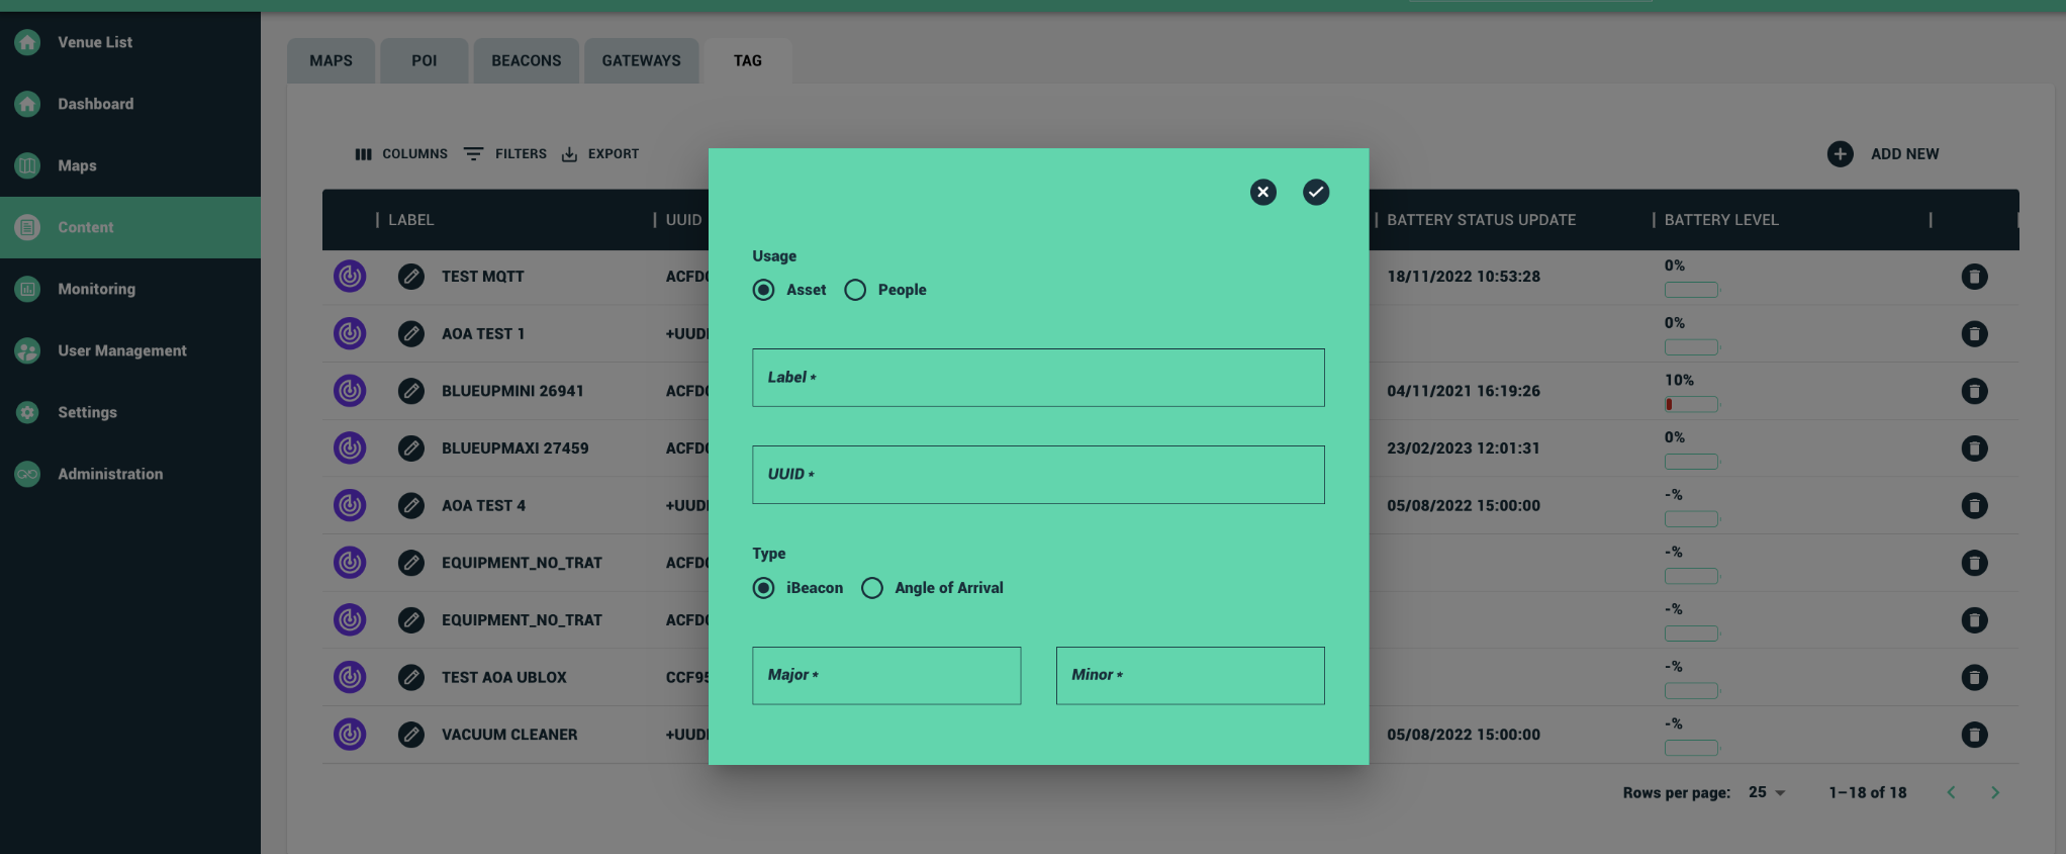
Figure 7 shows the two labels which represent, from left to right, a tag associated with a person and a tag associated with an object.

Registration by Venue Configurator App
To register a Tag by the Venue Configurator App, login to the app and follow the steps below:
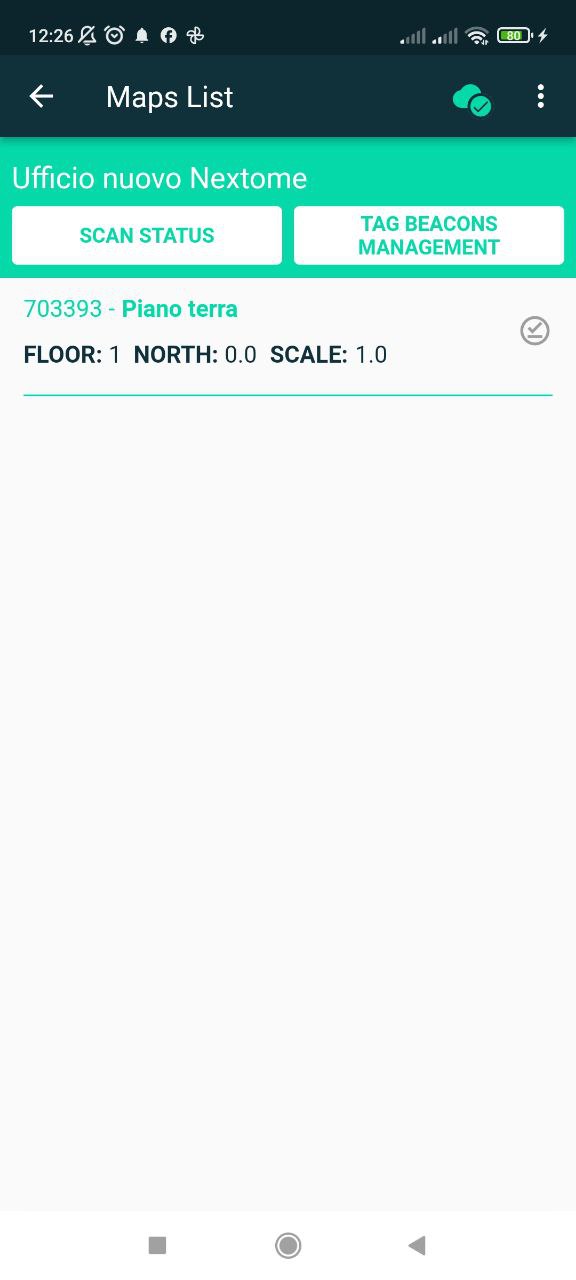
- Choose the Venue
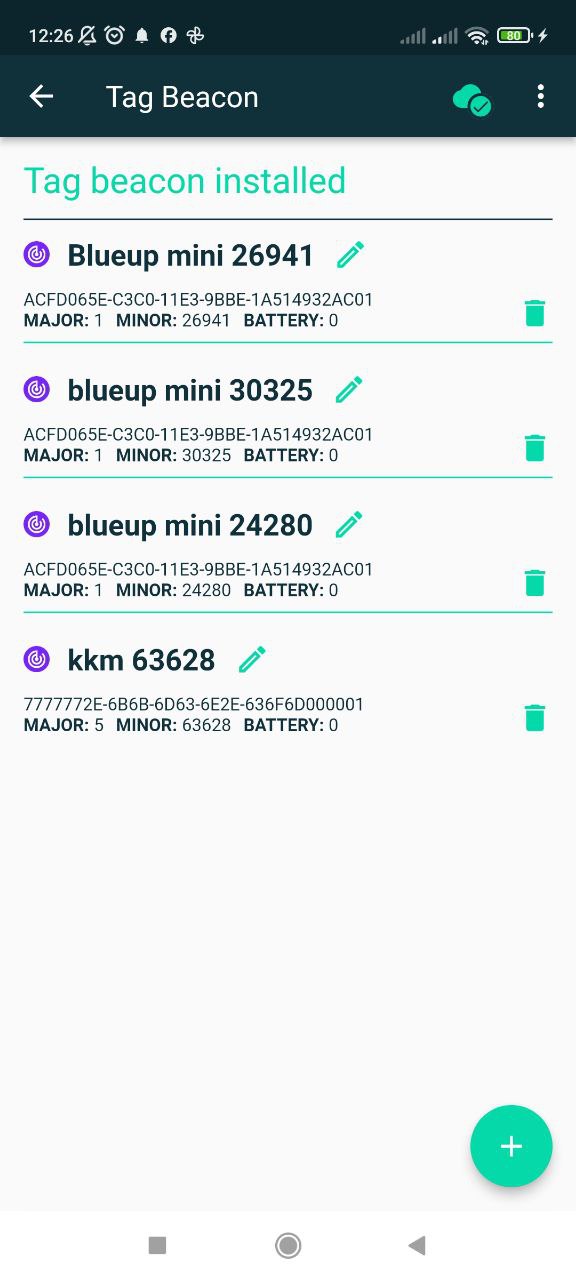
- Select 'TAG BEACONS MANAGEMENT'
- Select the '+' incon to start the scanner
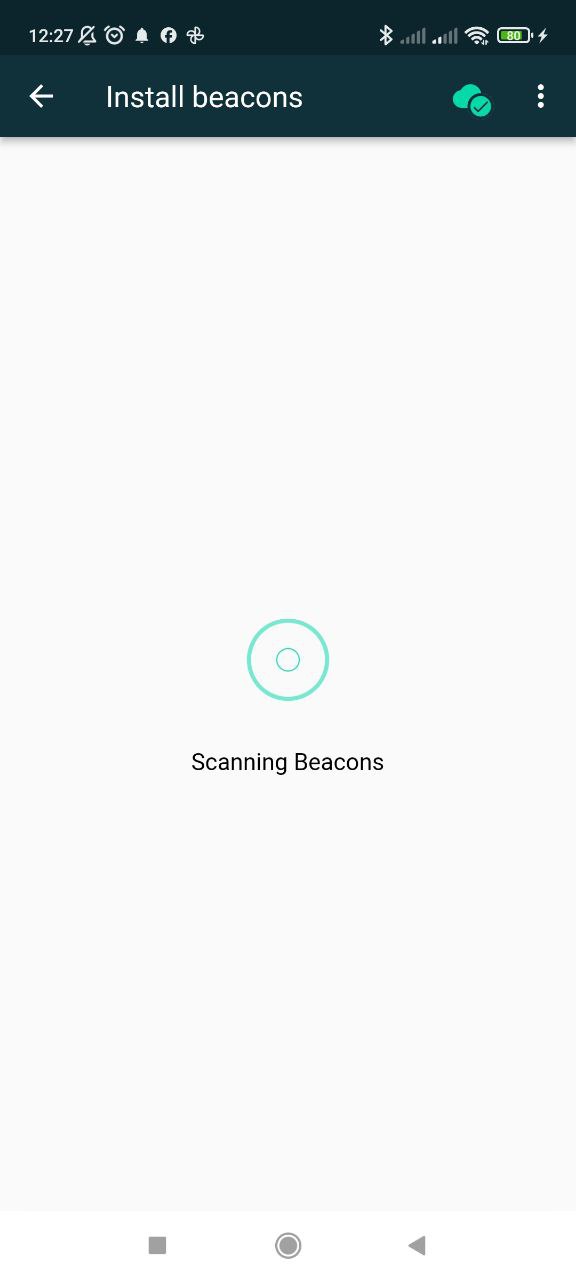
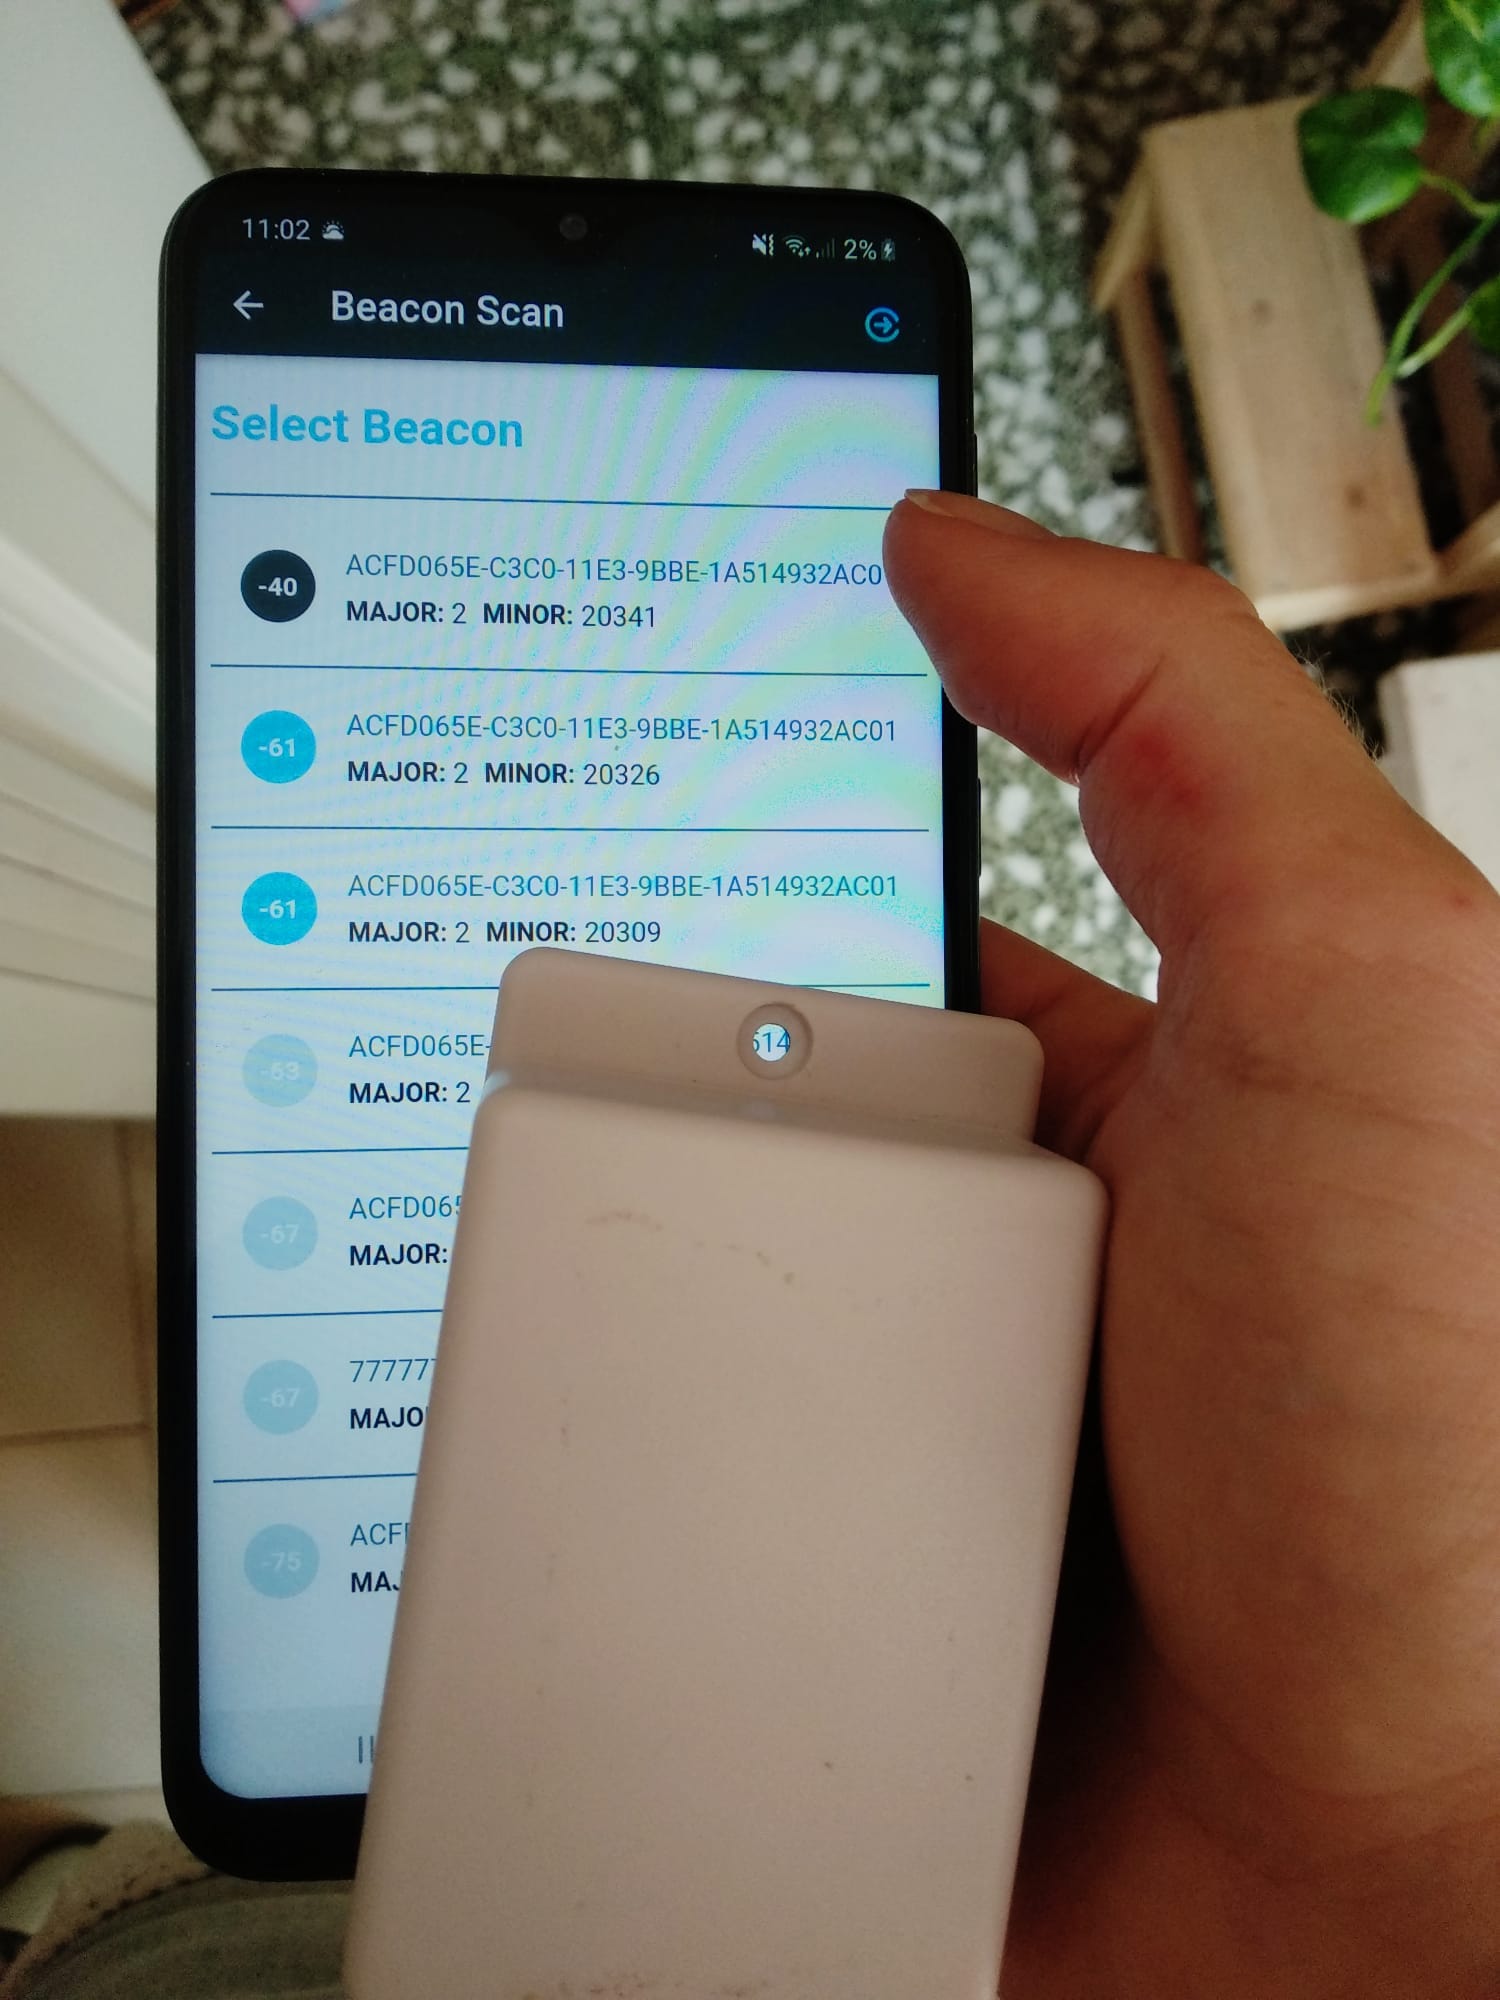
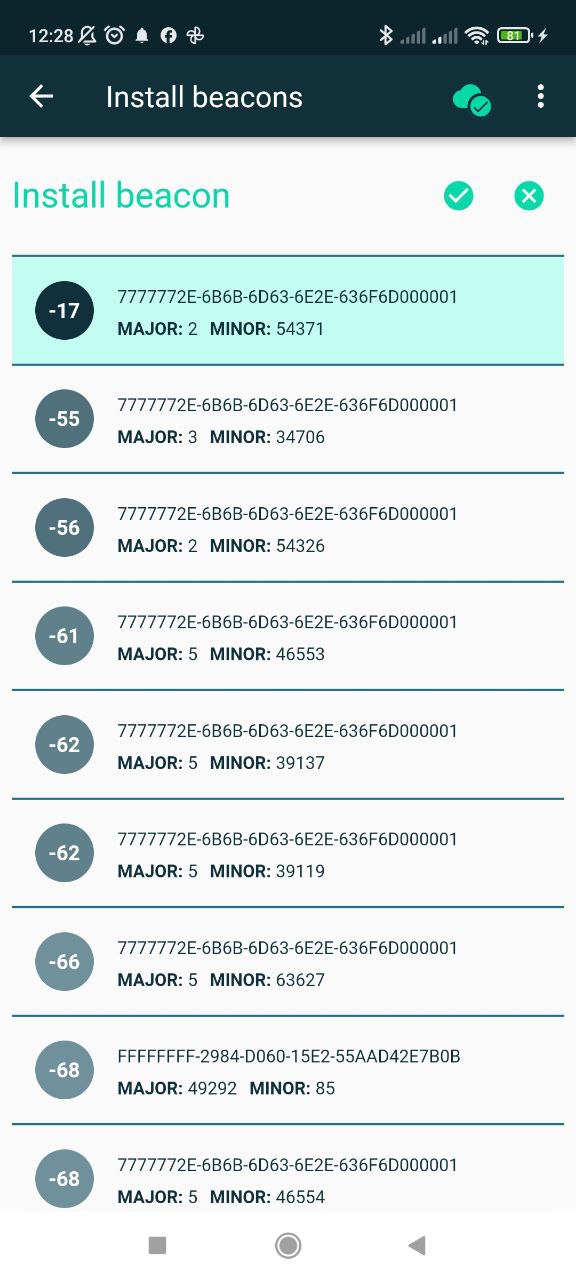
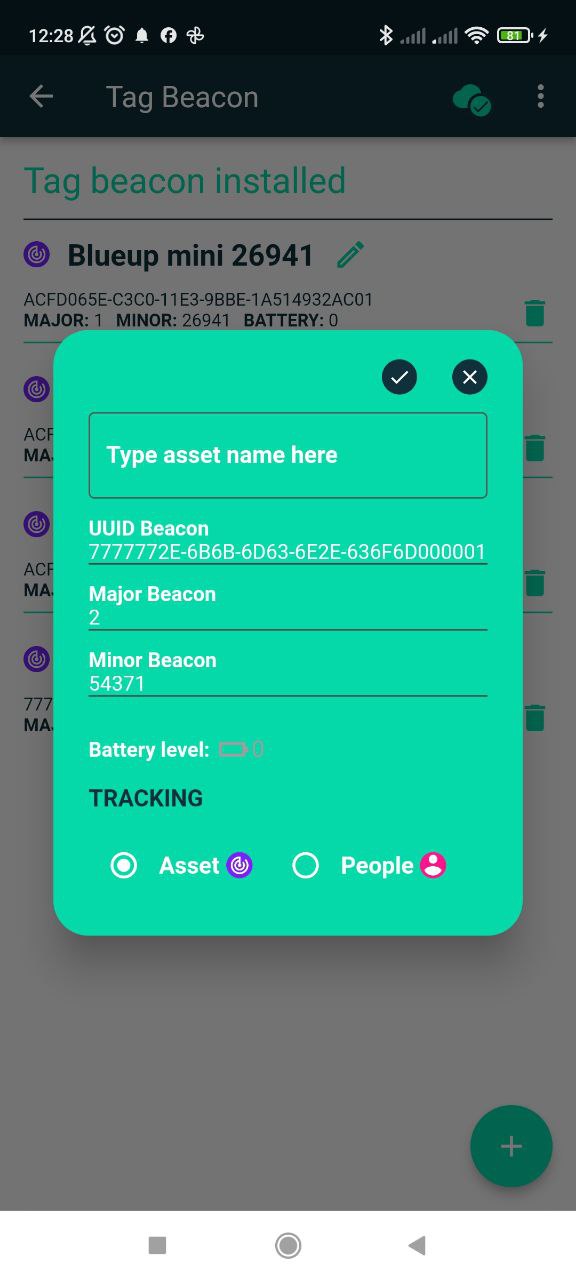
- The scanner will detect tags present in the environment. All the detected tags will appear in form of a list. Bring the tag you want to record close to your smartphone. Keeping the choosed tag as close as possible to the smartphone (Figure 12), while it is in “Scanning” mode, will make the scanner able to detect the tag with higher Received Signal Strength Indicator (RSSI) values. The higher the RSSI value, the closer the tag. As it can be seen in Figure 13, the number in the circle on the left side of each item represents the strength of the signal that is received by the RSSI detector. Be sure to select the tag that is closer to the smartphone: it will appear on top of the list or, in any case, it will be the one with the higher value. After selecting the right tag, tap on it and use the 'V' icon on the upper right corner (Figure 14).
- Fill in the fields and click on 'V' icon to complete tag registration.
Phase 4 - Tags monitoring
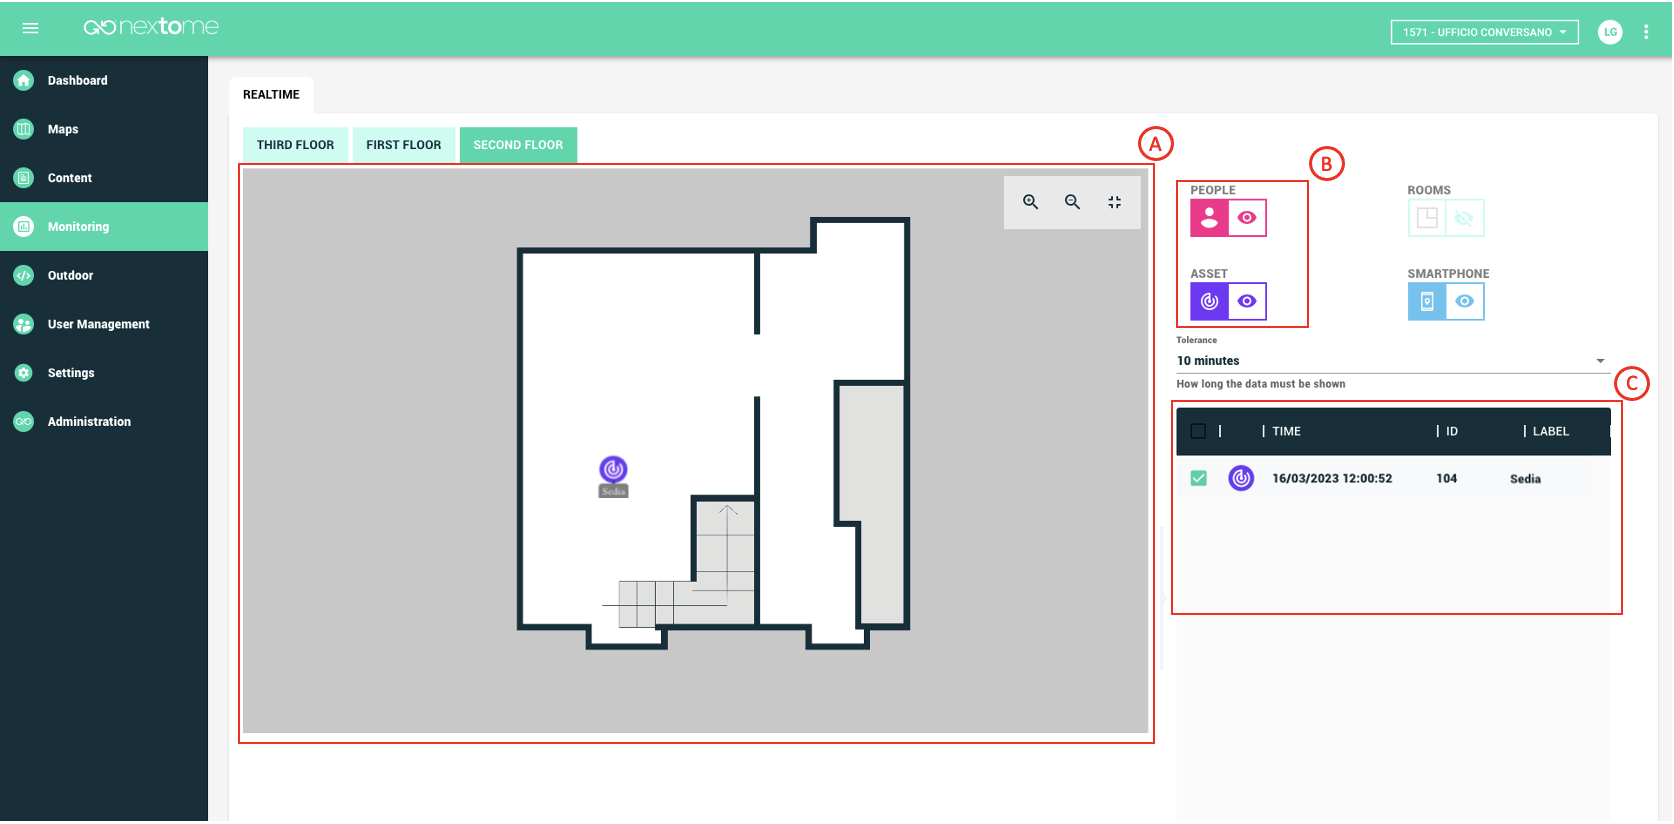
Once all the Gateways and all tags have been installed and registered, it is possible to visualize the positions of the tags in the 'Monitoring' section of the Nextome Hub Web. The tags could be associated with people or objects, respectively indicated by the PEOPLE and ASSET icons in magenta and purple. Through the icons in box B in Figure 15 it is possible to enable or disable the display on the map of the tags located on the basis of their type. The position of the localized tags is visible directly on the map in box A. While the table, in box C indicates the time to which the last position calculated for the relative tag is associated. Boxes A and B therefore show, for each tag, the last calculated position, the first indicates the position on the map, the second indicates the sighting time plus some details of the located tag.
Once the positions are saved on the database, it is possible to access them by means of dedicated APIs that are described in a dedicated document. It is worth noting that data retention times follow the rules established by the Nextome Hub Web. The positions on the database are subject to a daily cancelation, so the available positions are related to the current day. The access to prior positions can be granted by Nextome if this is explicitly required to Nextome, together with the desired period.